Last updated November 20, 2026
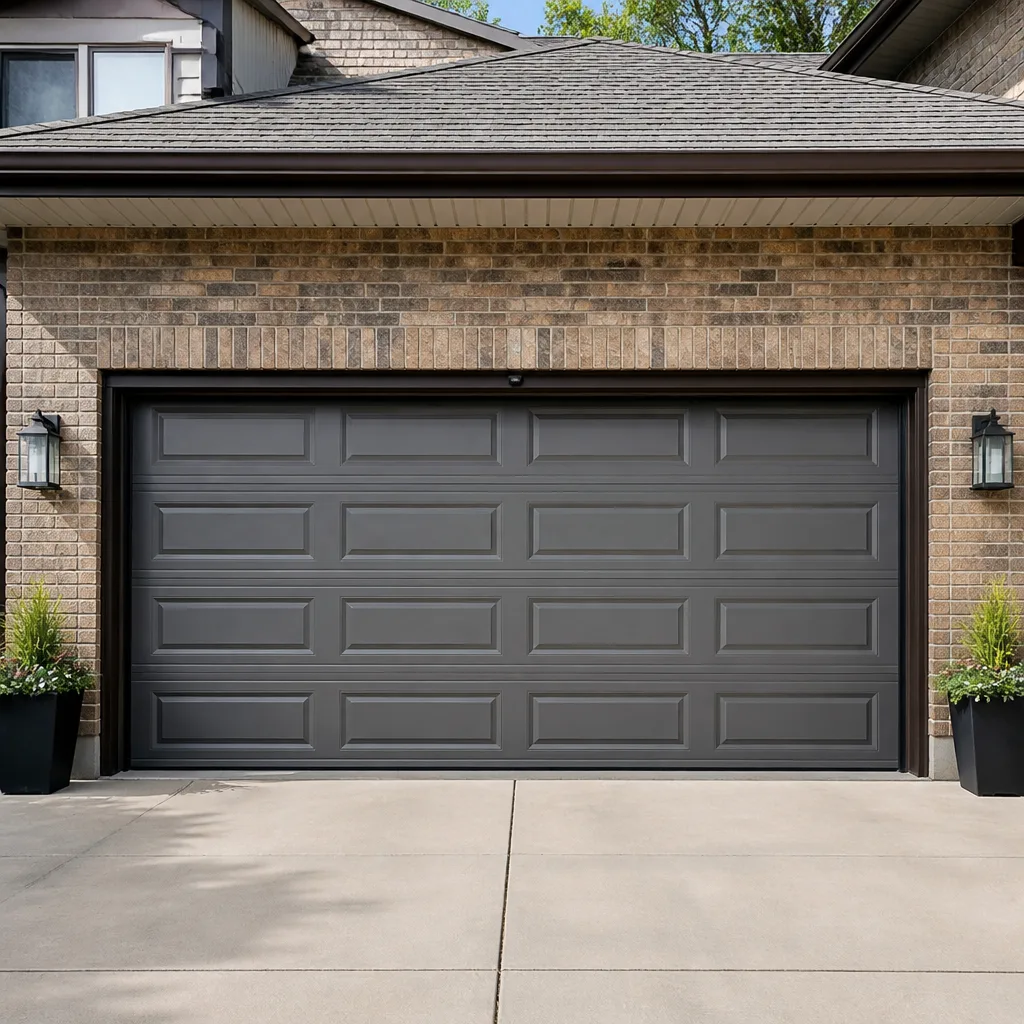 Raised-panel steel
 Carriage house
 Modern flush
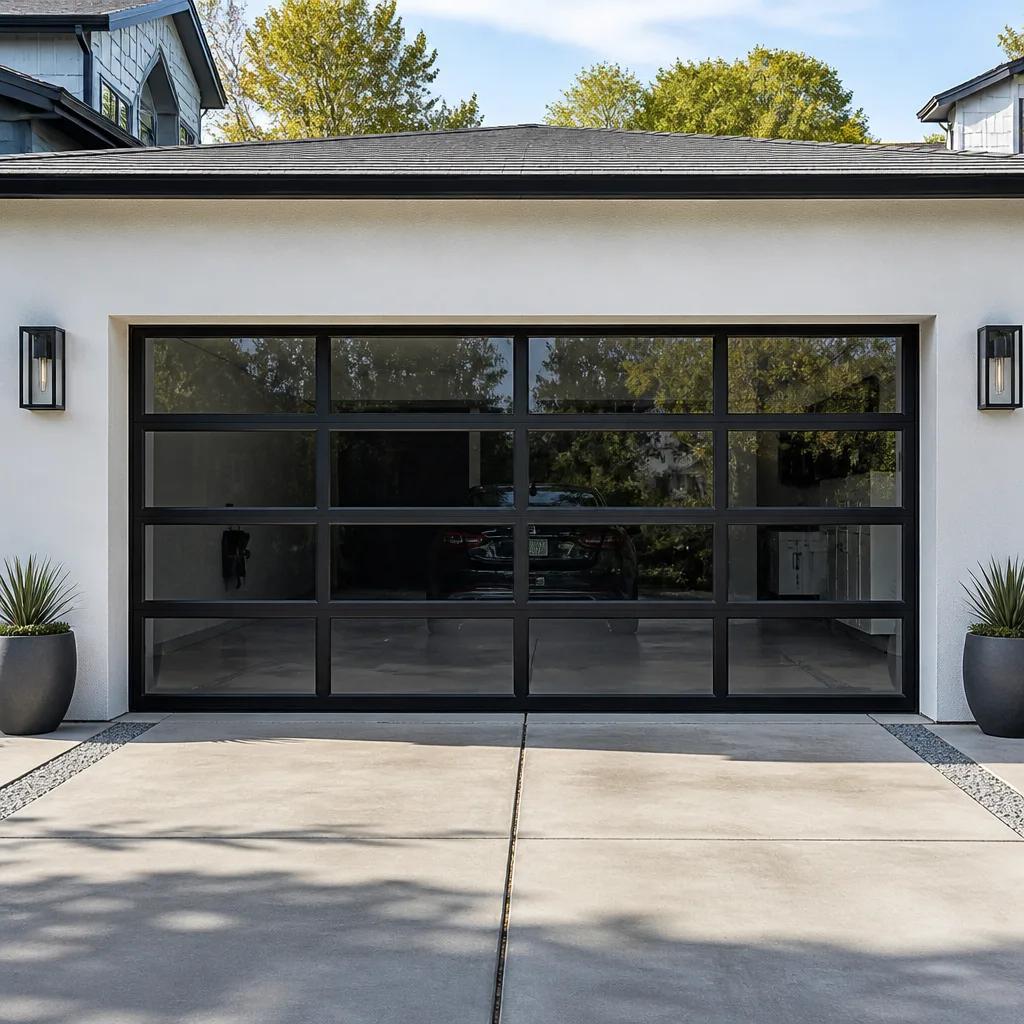 Full-view glass
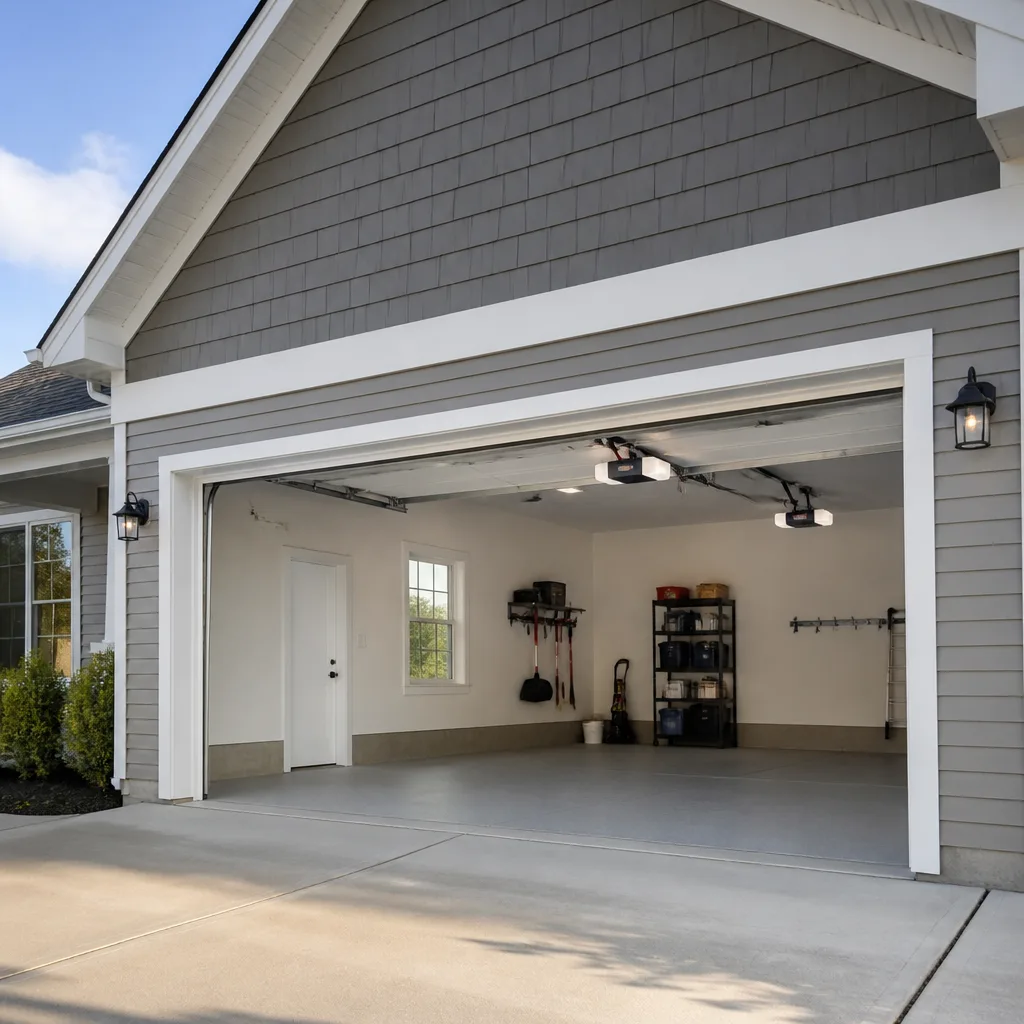 LiftMaster openers
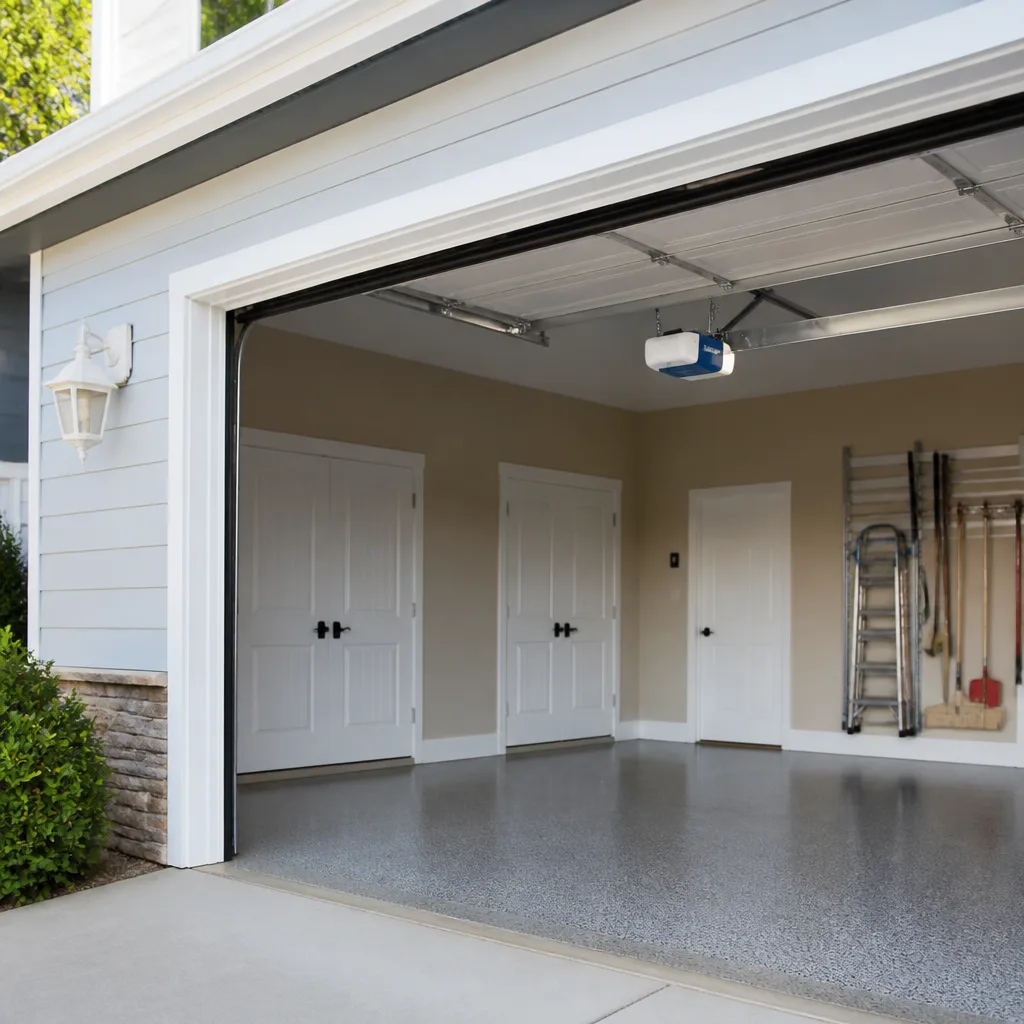 Chamberlain openers
Full 25-point door and opener safety check with every visit - springs, cables, rollers, tracks, and your LiftMaster or Chamberlain opener included
You get a price before we start. It does not change when the pro arrives.
Get your free estimateSeasonal Garage Door Care for Plymouth: Year-Round Homeowner’s Guide
October in Plymouth does more damage to garage door springs than January does. That surprises most homeowners, who assume deep winter cold is the worst thing their door faces. But rapid temperature swings during shoulder season stress metal in ways sustained cold doesn’t, and the freeze-thaw cycles of late fall and early spring are when most spring failures actually get triggered. A door that survived February can snap a spring in April. This guide is built around Plymouth’s real climate calendar rather than generic seasonal buckets: what to check in late October, how to handle the sand and salt that winter road treatment pushes into your tracks, why summer humidity matters to wood sections, and what to inspect after a nor’easter before you press the opener again. You’ll learn when to watch, when to act, and when to call a technician.
Quick Answer
Garage door care in Plymouth should follow the actual stress points in the local climate, not the calendar alone. The highest-risk windows for hardware failure are late October and early April, when rapid temperature swings work metal components hardest. Year-round care comes down to four recurring tasks: clearing sand and road-treatment grit from tracks and bottom seals, lubricating moving parts at each transition, auditing weatherstripping before the first frost, and watching wood sections for delamination during humid summer months. Storm events require a visual inspection before normal operation resumes.
Styles & brands we work with
- Raised-panel steel
- Carriage house
- Modern flush
- Full-view glass
- LiftMaster openers
- Chamberlain openers
Table of Contents
- Why Plymouth’s Shoulder Seasons Are the Real Risk Window
- Late October: The Fall Transition Checklist
- Winter Driving Grit: Cleaning Tracks and Bottom Seals
- Summer Humidity and Wood Door Sections
- The Weatherstripping Audit Timed to First Frost
- Early April: The Spring Transition Checklist
- After the Storm: What to Check Before Using the Door
- Low-Effort Habits That Prevent Most Breakdowns
Why Plymouth’s Shoulder Seasons Are the Real Risk Window
Metal behaves differently under steady cold than it does under a temperature swing. A garage door torsion spring is a coiled piece of steel held under constant tension. It expands and contracts slightly with temperature, and when that change happens slowly, the metal has time to adjust. When it happens in a single afternoon, the metal is asked to move faster than it likes. That’s the shoulder-season problem. Plymouth sits in a climate band where October afternoons can run warm and the same evening can drop close to freezing. March and April flip the same pattern in reverse.
In our experience, spring failures cluster into two windows rather than spreading evenly across winter. The first sits in late October and November, when temperature swings first start moving metal in large increments. The second sits in early April, when the metal that held through February finally gets tested by warming days and freezing nights.
What that means for your routine
- Late October: Inspect and lubricate springs and rollers before the first hard freeze.
- December through February: Clear grit regularly and watch for ice buildup on bottom seals.
- March and April: Re-lubricate and do a full visual inspection, treating it as the second high-risk window.
- May through September: Watch wood sections for humidity damage and keep tracks clean.
Treating the shoulder seasons as the real risk windows is a shift in thinking from a generic “winter maintenance” approach. The tasks are simple. The timing is what makes them matter. A door that gets lubrication before each transition is far less likely to snap a spring under the stress of a swing cycle than one that only gets attention after something breaks.
Late October: The Fall Transition Checklist
The fall transition checklist is the most valuable 30 minutes you can spend on your garage door all year in Plymouth. It’s timed to the window when the door faces the largest temperature swings of the year, and it catches the problems that would otherwise surface as a broken spring, a sticking roller, or a door that stops opening in the middle of a cold snap. Everything on this list is safe for a homeowner to do without touching the high-tension springs or cables.
- Lubricate moving parts. Rollers, hinges, and the opener’s rail and chain benefit from a light application of garage-door lubricant. This isn’t a job for spray oil from the kitchen cabinet; use a product made for garage door hardware so grit doesn’t stick. Never lubricate the springs themselves if they are the sealed type, and never try to oil a torsion spring under tension.
- Inspect the bottom seal. Run a gloved hand along the bottom weatherstripping and check for cracks, splits, or sections peeling away. A compromised seal lets cold air and moisture under the door and invites grit into the track.
- Check weatherstripping on the sides and top. Look for gaps where daylight shows through when the door is closed. Fall is when these gaps start letting in cold air and, more importantly, when ice can start forming in a crack that will only widen over winter.
- Test the door balance and reversal. With the opener disengaged, lift the door about halfway by hand and let go. A properly balanced door holds position; one that slams down or creeps up needs professional adjustment. Then re-engage the opener and test the auto-reverse with a piece of wood under the door.
- Clear the tracks. Wipe out the vertical and horizontal tracks with a damp cloth. Grit left in the tracks during fall builds up faster once road treatment starts and freezes into the rails when temperatures drop.
- Check the opener’s battery backup. If your opener (any of the brands we work with, from LiftMaster to Craftsman) has a battery backup, test it before the storm season. A dead backup shows up at the worst possible time.
The opener itself isn’t usually the reason a door fails in Plymouth’s late-October swings, but it can be the messenger. When a spring gets weak, the opener works harder to lift the door. If the opener starts sounding strained or the door rises slowly, the door’s balance may be the culprit. If you suspect a mechanical problem after running this checklist, our team handles garage door repair and can diagnose it before it becomes a bigger headache.
Winter Driving Grit: Cleaning Tracks and Bottom Seals
Winter road treatment in Plymouth is effective at keeping the roads passable, but the sand, salt, and grit it leaves behind does real damage to a garage door if it’s never cleaned out. Vehicles pull into the garage trailing that material, and it migrates onto the floor at the door line. The door’s bottom seal and tracks then collect it every time the door opens and closes. Left alone over a full winter, grit in the tracks acts like sandpaper on the smooth surface that rollers glide on.
The cleaning protocol
Winter grit cleaning isn’t one big job, it’s a small recurring one. The habit matters more than the specific technique.
- Clear the door line first. Sweep or vacuum the floor directly under the closed door before opening it so grit doesn’t get pulled up into the track. A quick pass every couple of weeks is plenty.
- Wipe the track rails. Use a damp cloth, not a wet one. Running a soaking rag down a track in freezing weather leaves moisture that can freeze into place and make the roller stick when the door next opens.
- Give the bottom seal a wipe-down. The bottom seal is the part of the door most exposed to grit. Wipe it with a damp cloth and inspect for cracking. Salt residue can degrade rubber faster than plain wear.
- Let everything dry before closing. Give the tracks and seal at least an hour to dry fully before running the door, especially on a cold day.
- Re-lubricate lightly after cleaning. A small application of garage-door lubricant on the rollers and hinges after each cleaning protects them from the grit that’s still in the air.
The bottom seal is also where salt residue does its quiet damage. Rubber that’s been coated in road salt for weeks can harden and crack earlier than rubber that’s simply aged. If your door is a Clopay or Amarr model with a hollow bottom-seal tube, look for cracks along the underside rather than the visible top. A hardening seal is one of the most common fixes we get asked about during the winter months, and replacing a warn seal early keeps grit from working its way up into the door’s hardware.
None of this is difficult, but it’s the part of seasonal care that gets skipped most often because it doesn’t feel like real maintenance. Sweeping a track doesn’t feel like protecting the springs. But the tracks and seals are what keep the rest of the door’s hardware running at its designed tolerances. If a bottom seal is already past the point of cleaning, we can replace it as part of a repair visit. Call (833) 754-9851 and we’ll arrange a free estimate.
Summer Humidity and Wood Door Sections
Plymouth’s summer humidity hits wood garage doors harder than most homeowners expect. Wood is a hygroscopic material: it absorbs and releases moisture with the ambient air. Over a summer, a wood door can swell slightly at the joints, then shrink back down in fall. If the door was finished properly, that cycle is manageable. If it wasn’t, the joints start to separate. Water gets into those joints, and the second summer is when delamination begins.
Identifying early delamination
Delamination isn’t the same thing as peeling paint. Peeling paint is a surface finish problem; delamination is a structural problem where the wood layers themselves separate. You can tell the difference by running your hand along the bottom edge of the door’s wood panels.
- Peeling: The paint or stain lifts in flakes or sheets. The wood underneath is intact.
- Early delamination: The bottom edge of the wood feels soft or spongy, and you can slide a fingernail between layers of the wood.
- Active delamination: Visible separation along joints, exposed fiber in the gaps, and paint that has lifted together with a layer of wood.
The bottom of the door is the first place to check because it sits closest to the ground, gets the most moisture from melting snow and rain runoff, and is the hardest part to reach with a mop or brush. If you have a wood door with bottom sections that were replaced in the past, check those sections first – joints in any wood door, whether it started as a Wayne Dalton or a Craftsman kit, are where the swelling-and-shrinking cycle does its work.
Prevention during humid months
The single most useful step during summer is keeping the finish intact. A door with a complete coat of exterior-grade finish will shed humidity far better than one with bare spots or cracks. Check the bottom sections in late June and again in September. Touch up any area where the finish has worn away. Keep the bottom seal in good shape so ground moisture doesn’t wick upward into the door’s bottom panel. If you see early delamination, don’t wait for it to spread. It gets more expensive and more structural the longer it sits.
The door’s opener doesn’t care about humidity, but a swollen wood door can cause the opener to work harder than it should. If your opener starts straining in the summer and the finish on the door looks intact, the fix may be balance and adjustment rather than a new opener. Our team handles garage door opener repair and will diagnose the door and opener together before recommending a fix.
The Weatherstripping Audit Timed to First Frost
Weatherstripping fails quietly. A small gap in the sides or top doesn’t cause problems in summer, but as soon as the first frost hits, that gap becomes a pathway for cold air, moisture, and eventually ice. The reason the audit should be timed to Plymouth’s first frost date and not a calendar month is that first frost is when the door meets the conditions that expose every weak point in the seal. Doing the audit in August doesn’t find the crack that only opens when the rubber is cold and stiff. Doing it after the first hard freeze is too late – the ice is already doing damage.
How to time the audit
Plymouth’s first frost typically arrives in the last week of October or first week of November. Watch the forecast and plan the audit for the ten days before that window. That timing catches the door while it’s still warm enough to make the seals and weatherstripping easy to inspect, and gives you time to schedule any replacement before the freeze.
What to check
- Close the door and look for daylight. Go into the garage with the door closed and turn off the lights. Daylight around the perimeter of the door is the fastest way to spot failed weatherstripping. It shouldn’t show any.
- Run a feeler check. Slide your hand along the sides and top edges of the closed door. Any air movement indicates a gap. Any gaps at the corners need attention first.
- Inspect the threshold seal. Look for cracks, splits, or sections that have compressed flat. A compressed threshold seal is a common culprit but often easy to miss because it looks intact from a standing position.
- Check the astragal (the strip between door panels). If you have a multi-panel door, the seal between panels is often the first one to fail and the one homeowners miss most.
- Look for icicles inside the garage in winter. Icicles inside the garage door line are the clearest sign of a failed seal and should prompt a re-audit.
If you find gaps or failed weatherstripping, that’s a straightforward job but it’s not a do-it-yourself-friendly one on some door types. The bottom seal, in particular, is attached to the door’s bottom panel and needs to be replaced in a way that keeps the door properly balanced. We can quote that as a standalone fix – no need to wait for a bigger repair to get it handled.
Early April: The Spring Transition Checklist
Early April is the second high-risk window for Plymouth hardware, and it’s the one most homeowners forget. The logic is the same as October, reversed: warming days and freezing nights stress the metal that made it through winter. Doors that got through February without an issue can fail in April because the seasonal cycle is asking more of the metal than steady winter cold did. This checklist is deliberately shorter than the fall one. It’s meant for a quick re-set, not a full audit.
- Re-lubricate the springs, rollers, and hinges. The fall lubrication has worn away over the winter. A fresh application before April makes the springs work with less friction.
- Test the balance again. Disengage the opener, lift the door halfway, let go. A door that’s out of balance in April is one that lost its adjustment over winter.
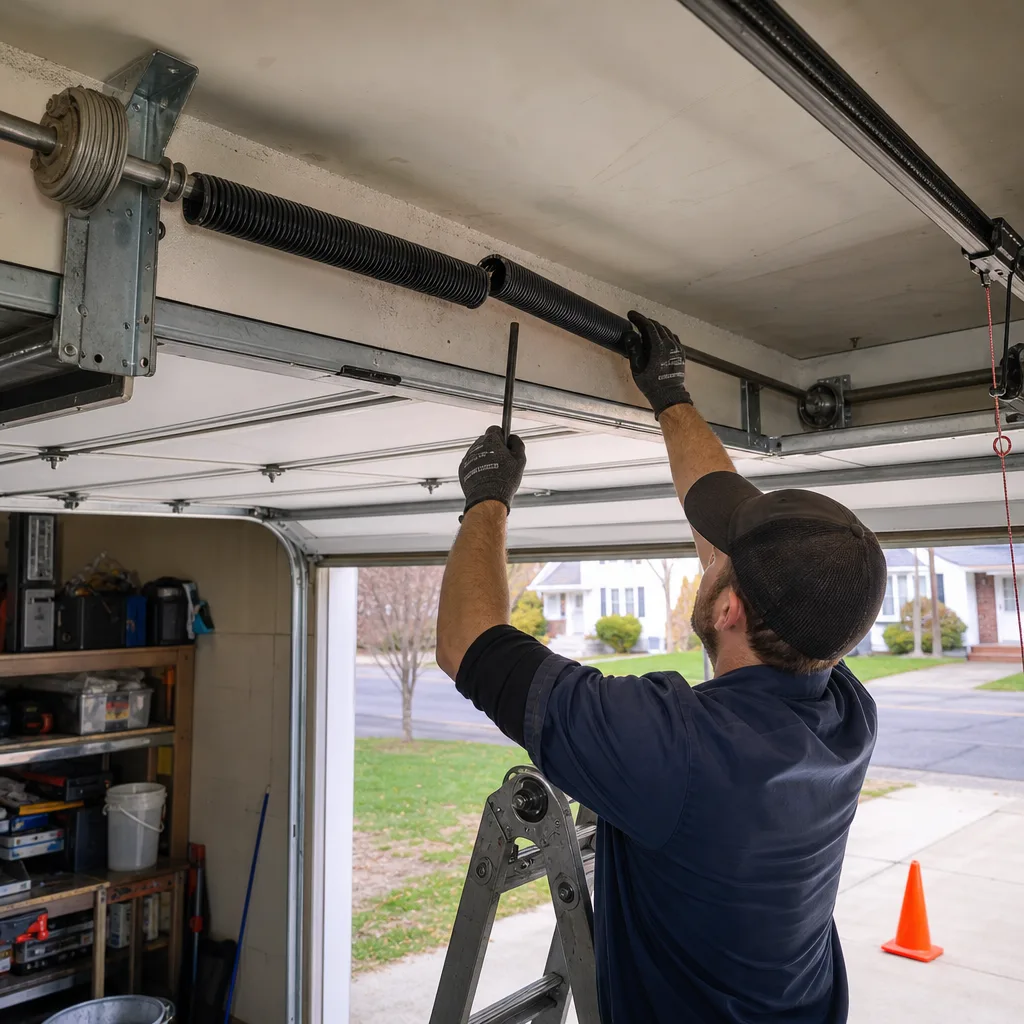
- Look and listen for changes in the spring itself. A stretched or slightly deformed spring, or a spring that looks different from its pair, is a reason to call for a spring inspection. Don’t try to adjust it yourself – torsion springs are under extreme tension, and a mistake can cause serious injury.
- Clean out the tracks. The winter grit has had all season to settle into the tracks. A single deep cleaning in early April resets the sliding surfaces for the rest of the season.
- Test the opener’s safety reverse and, if applicable, its photo-eye sensors. A door that reverses correctly in October can fail the sensor test by April.
Spring work is the one part of garage door care we tell homeowners to leave to a technician without exception. Torsion springs and the cables that support them store an enormous amount of energy. A spring under tension that releases unexpectedly can cause severe injury, and no amount of homeowner caution makes the work safe without the right tools and training. Our garage door spring repair team handles these jobs every day, and it’s work we’d rather do for you than have you attempt alone. If a spring looks wrong in April, call us rather than test it further.
After the Storm: What to Check Before Using the Door
A nor’easter or a tropical storm can leave debris against the door, push grit into the tracks, and stress the spring without obvious signs. Before you press the opener for the first time after a storm, spend five minutes on an inspection. If you press the opener and something is jammed, the opener can damage the door or itself.
Post-storm inspection sequence
- Look at the outside of the door first. Branches, debris, or anything pressed against the door panel means you shouldn’t try to open it until the debris is cleared. Opening into an obstruction is the most common way a door gets bent.
- Check the tracks for grit or misalignment. Storm-blown sand and grit accumulate in the tracks, and a strong storm can actually shift a track by a fraction of an inch. Run your hand along the track and feel for roughness or unevenness.
- Inspect the door panels for cosmetic damage. A dented panel can sometimes be repaired, but a panel that has separated from the door’s hinges is a safety issue. Look at the hinge attachment points – if they look stressed, the door shouldn’t operate until a technician inspects it.
- Check for water damage. Look at the bottom of the door and the bottom seal for signs of moisture damage after a heavy storm. Wood door panels that absorbed water during a storm may need a few days to dry before you can judge whether the finish is compromised.
- Test the opener’s reversal and safety sensors before opening the door fully. Storm vibration can misalign photo-eye sensors. Test the sensor with an obstruction (your body is not an obstruction – use a box or a piece of wood).
- Open the door slowly the first time. A door that rises unevenly, makes new noises, or stops partway is telling you something moved during the storm. Stop and call for a check rather than forcing it.
Storm damage isn’t usually catastrophic, but it’s rarely a good idea to just keep opening and closing a door that experienced one. If anything looks off after a storm, we can look at it during a free estimate. Reach the team at (833) 754-9851 and we’ll arrange a visit.
Low-Effort Habits That Prevent Most Breakdowns
Most garage door failures we see in Plymouth were preceded by a warning that was missed. The door was making a new noise, or a spring looked slightly different, or the opener was straining. None of these are dramatic, and none of them require a repair visit on their own. But taken together, they’re the early signals that a door is heading toward a failure. The habits that catch those signals take under ten minutes a month.
The monthly five-minute check
- Listen to the door from inside the garage, not the house. Normal door sounds are consistent. New squeaks, rattles, or grinding are the signal to look closer.
- Look at the spring. Whatever the type, the spring should look even and consistent. Anything that looks stretched, deformed, or different from the pair is worth a call.
- Watch the door as it goes up and down. A door that moves smoothly and evenly is running well. A door that shudders, pauses, or doesn’t sit flat when closed has something out of adjustment.
- Wipe the tracks with a dry cloth. Quick pass, no water, catches grit before it turns into a stuck roller.
- Test the opener’s reverse. Lay a piece of wood flat on the floor under the door and press close. The door should reverse on contact. This test catches a failing opener or a misaligned safety sensor before it becomes a safety problem.
These five habits are worth more than any single seasonal deep-clean. They catch problems while they’re small. If a monthly check turns up something, we’d rather hear about it then than after a spring snaps.
Common Mistakes to Avoid
- Timing maintenance to the calendar month instead of the climate. A generic “winterize in November” schedule misses the October and April windows that matter most in Plymouth. Put your maintenance visits on the shoulders of the season, not the peak.
- Lubricating the springs themselves. Sealed springs don’t need lubricant, and the unsealed type needs a specific product. Kitchen oil or WD-40 attracts grit and can cause more problems than it prevents.
- Ignoring the tracks and bottom seal until something breaks. Grit in the tracks and a cracked bottom seal don’t cause obvious problems until they do. Clean both through the winter, not just at the start of it.
- Waiting until a visible problem to check wood door panels. By the time delamination is visible, the wood is already separating. Check the bottom edge of the panels by hand each summer.
- Forcing a door that has stopped partway after a storm. The most common storm-related damage we see is a door forced open against debris. Clearing the door line first prevents it.
- Testing spring balance by hand without disengaging the opener. Testing with the opener engaged doesn’t tell you anything about the door’s balance and can damage the opener’s gears.
- Assuming a new noise is nothing. New noises are the cheapest problem to fix while they’re still new. Once the noise becomes a failure, it costs more.
See the difference
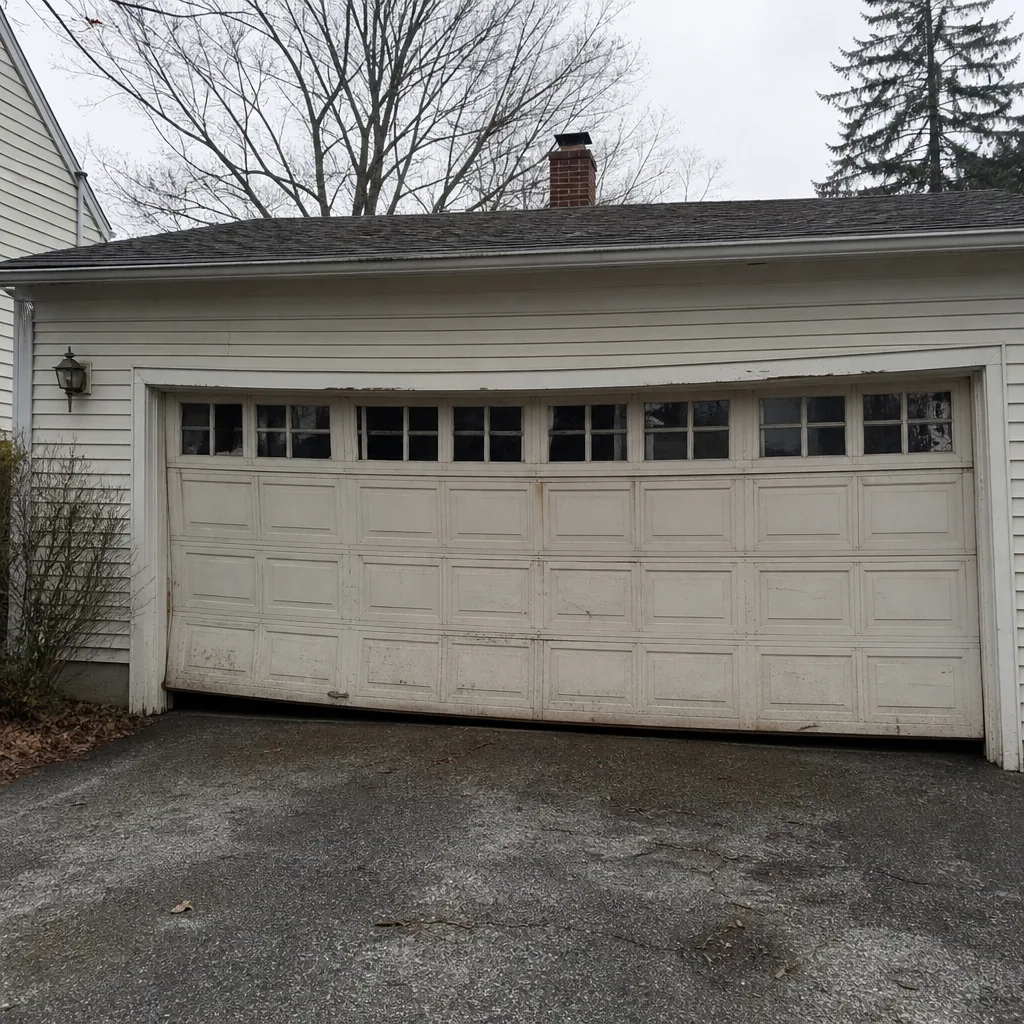 Before
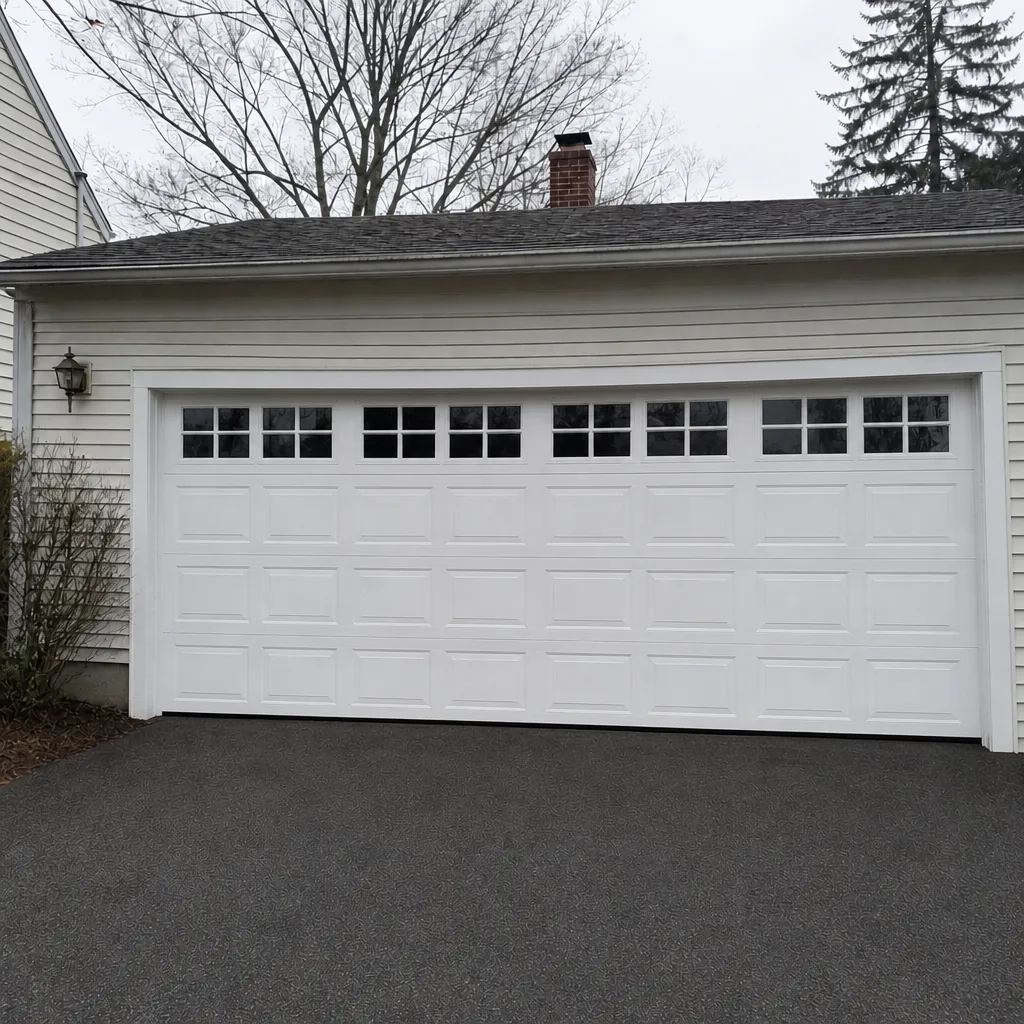 After
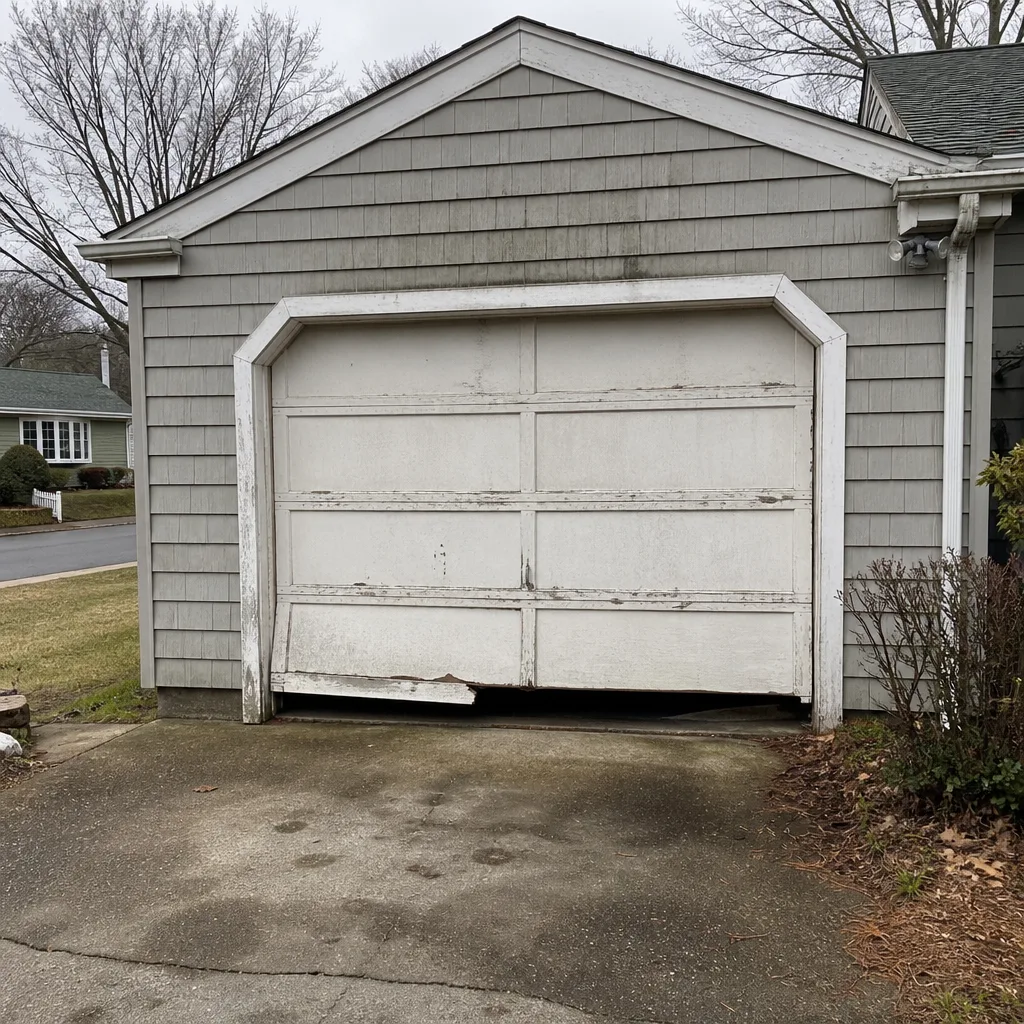 Before
 After
 Before
 After
When to Call a Professional
Most of the seasonal care in this guide is safe for a homeowner to do. There are specific scenarios where the work belongs with a technician, and delaying the call usually makes the eventual repair more expensive. Call us when a spring looks stretched, deformed, or broken; when a door is out of balance and won’t hold position when you lift it by hand; when the cables on either side of the door look slack or frayed; when the opener strains, stalls, or reverses unexpectedly and a sensor reset doesn’t fix it; when the door won’t close fully or won’t open past a certain point; or when a storm has left the door operating unevenly or making new noises. Spring work and cable work are especially dangerous to attempt alone – a torsion spring under tension stores enough energy to cause serious injury if it releases unexpectedly. Trust the repair to a trained technician. If you want to know which category your issue falls into, our team handles garage door repair and can diagnose before recommending a fix.
Garage Door Repair Plymouth Pros offers free estimates in Plymouth – call (833) 754-9851 to arrange a visit. Our technicians have up to 14 years of experience, and we work on the brand you already have. Certified familiarity with Clopay, Amarr, Wayne Dalton, Craftsman, LiftMaster, Chamberlain, Genie, and Raynor means we’re not guessing about the hardware on your door – we know how it’s supposed to run and we know what’s failing. We’re a garage door repair specialist, not a generalist home service, and we’re not in the business of pushing new doors on homeowners who want their current system fixed.
Frequently Asked Questions
Schedule it in the two windows around late October and early April rather than once a year at a single date. Plymouth’s shoulder-season temperature swings stress hardware more than the peak of winter, so the maintenance is most useful when it’s timed to the transitions. Two shorter visits each year catch more problems than one long one.
It’s less common than winter, but early spring is a real risk window because warming days and freezing nights stress metal in the same way late fall does. A door that held through February can snap a spring in April, especially if the spring was already under extra stress. If you hear a loud bang from the garage in spring, stop using the door and call for a spring inspection.
Run a gloved hand along the bottom edge of the wood panels. Soft spots, spongy areas, or a fingernail that can slide between wood layers indicate early delamination. Peeling paint alone isn’t delamination – the wood underneath the peeling paint should still feel intact. Early delamination is much cheaper to address than active delamination where whole layers separate.
Inspect the outside of the door for debris, clear the tracks of grit, look at the door panels for cosmetic or structural damage, and test the opener’s safety reverse before opening the door fully. Open the door slowly the first time – if it moves unevenly or stops partway, stop and call for a check. Forcing a door that’s obstructed is the fastest way to cause structural damage.
Yes, and you should – regularly through the winter. Wipe the tracks with a damp (not wet) cloth, wipe the bottom seal, and re-lubricate lightly with a driveway-safe garage door lubricant after each cleaning. Sweeping the floor directly under the closed door before you open it prevents most of the grit from getting into the tracks in the first place. If a track is bent or a roller has already seized, that’s a repair visit.
Torsion springs and cables are under constant, extremely high tension. When that tension releases unexpectedly, the spring or cable moves with enough force to cause serious injury. A homeowner adjusting or attempting to replace a spring without specialized tools and training is at real risk. Spring repair is best handled by a professional; our team does this work as a dedicated specialty.
The Bottom Line
Plymouth’s garage door care calendar doesn’t follow the seasons as most people assume. The biggest risk windows are the transitions – late October and early April – when temperature swings stress metal faster than steady cold ever does. Build your routine around those two windows. Clean sand and road-treatment grit from tracks and seals through winter. Check wood door panels for delamination during humid summer months. Time your weatherstripping audit to the first frost. Inspect before resuming operation after any storm. The tasks themselves are simple; the timing is what makes them matter. If something turns up during a check that doesn’t feel right, get it looked at while it’s cheap to fix.
If you want help with any part of the routine in this guide, or you’re not sure whether something you’ve noticed is worth a call, reach out. We work on the brands you’re likely to have on your Plymouth home, and we handle door repair, opener repair, and spring work under one call. Free estimates, upfront pricing, and the written quote is the price – quoted before any work starts. Call (833) 754-9851 to get started.
Written by the team at Garage Door Repair Plymouth Pros.