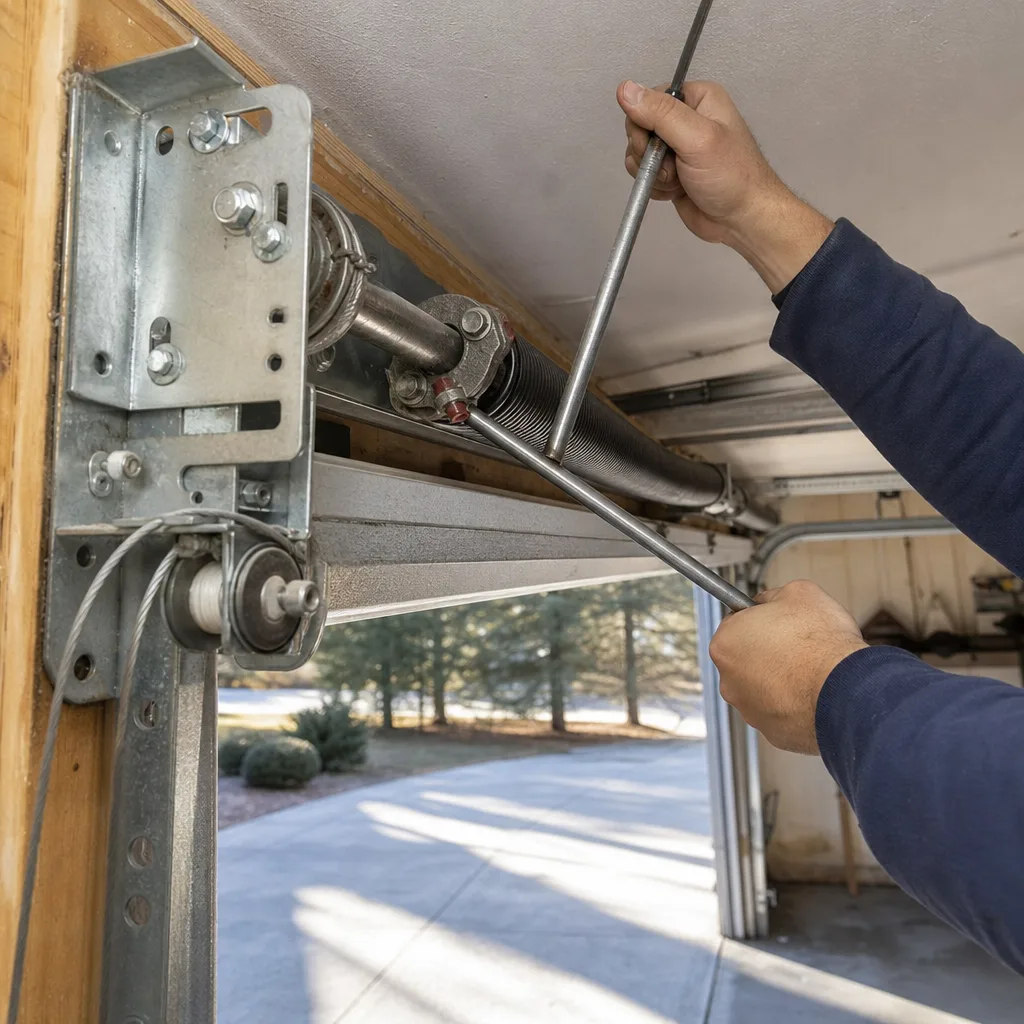
Last updated November 20, 2026
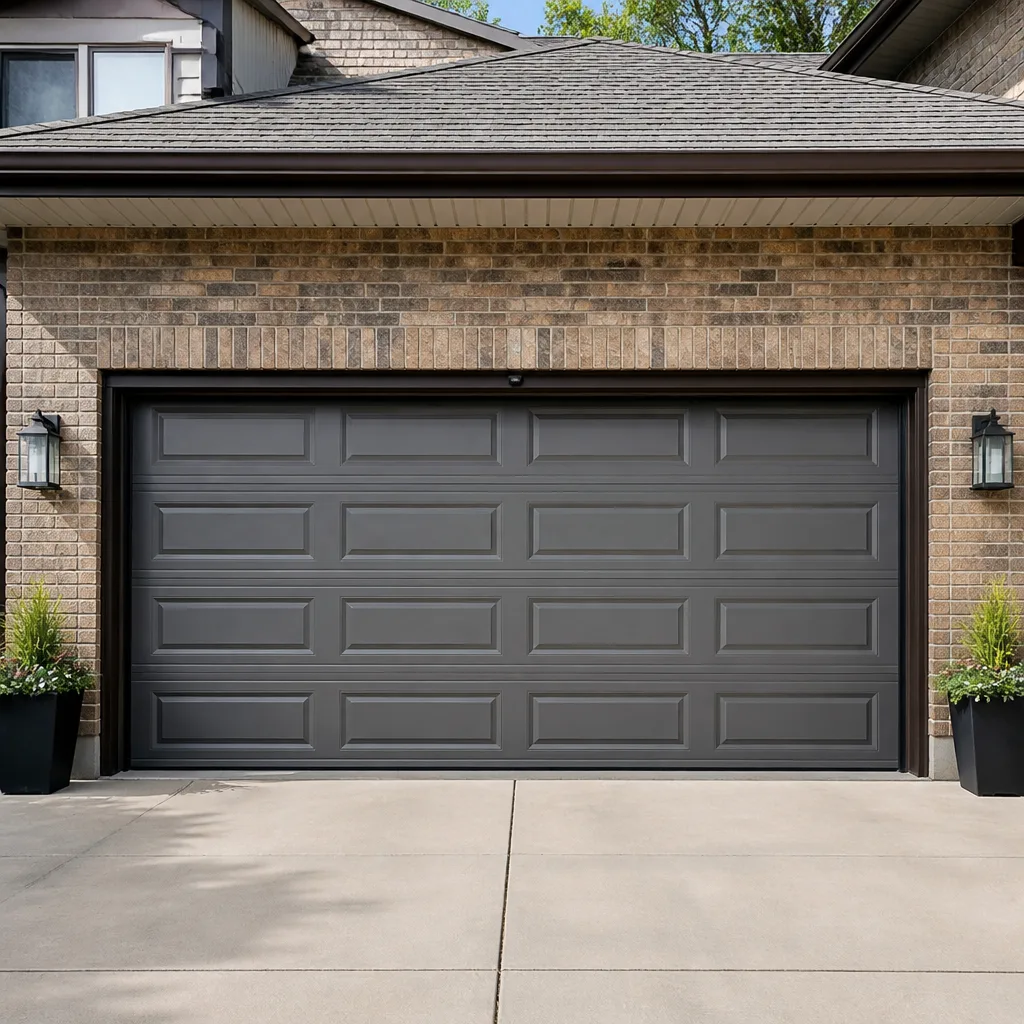 Raised-panel steel
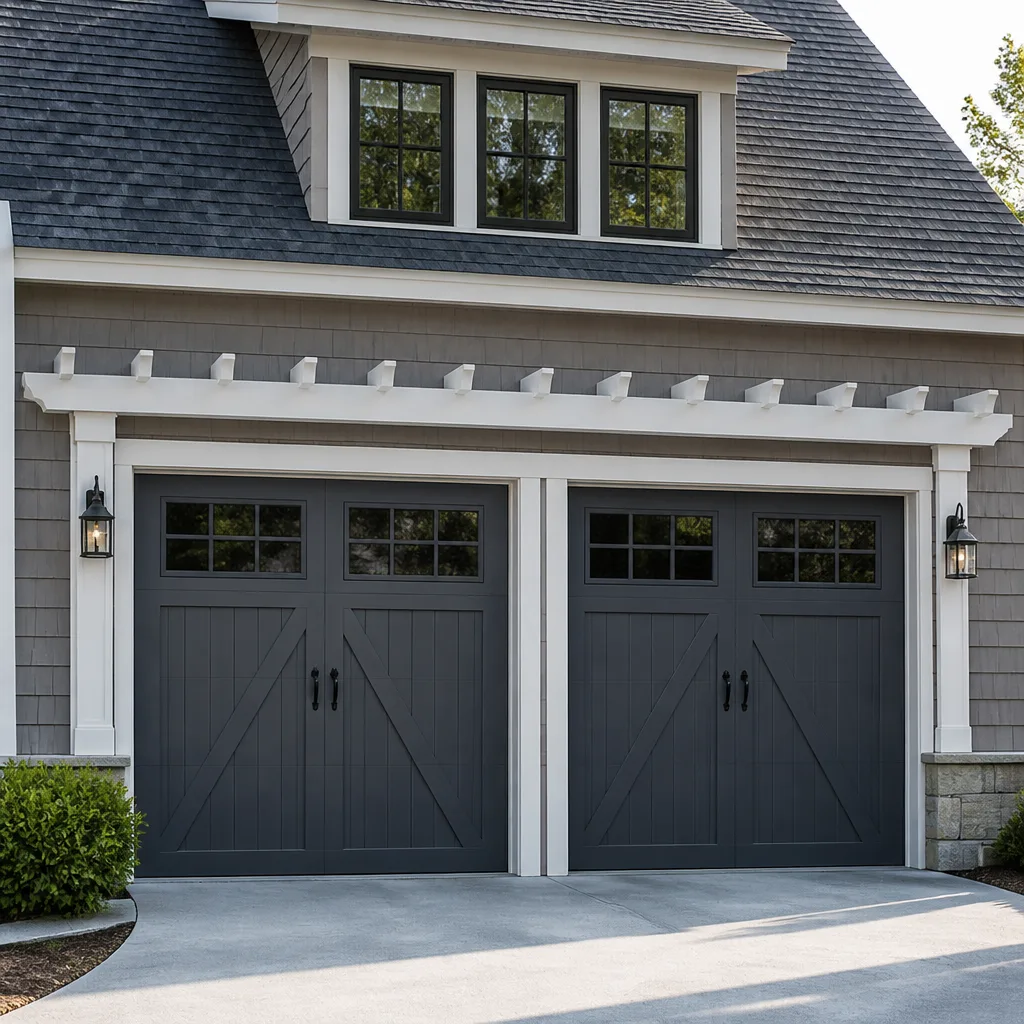 Carriage house
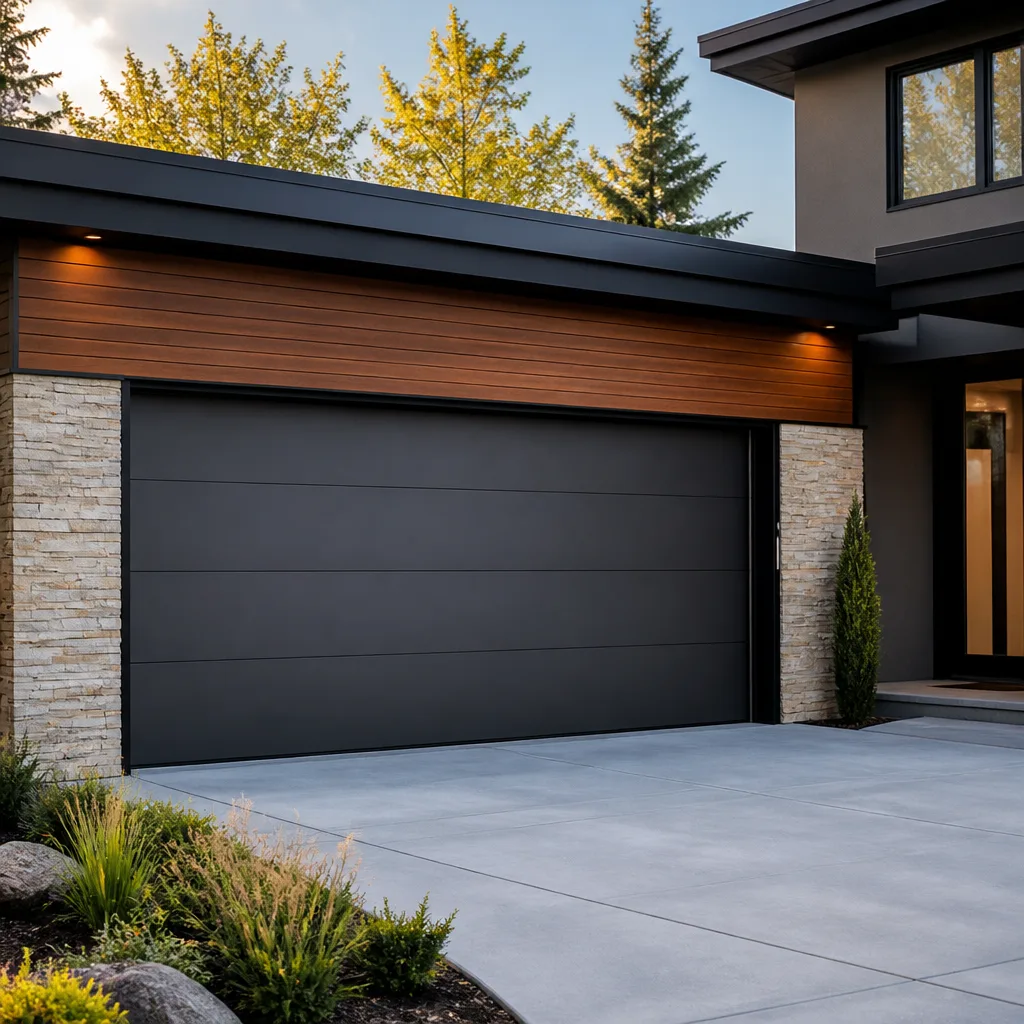 Modern flush
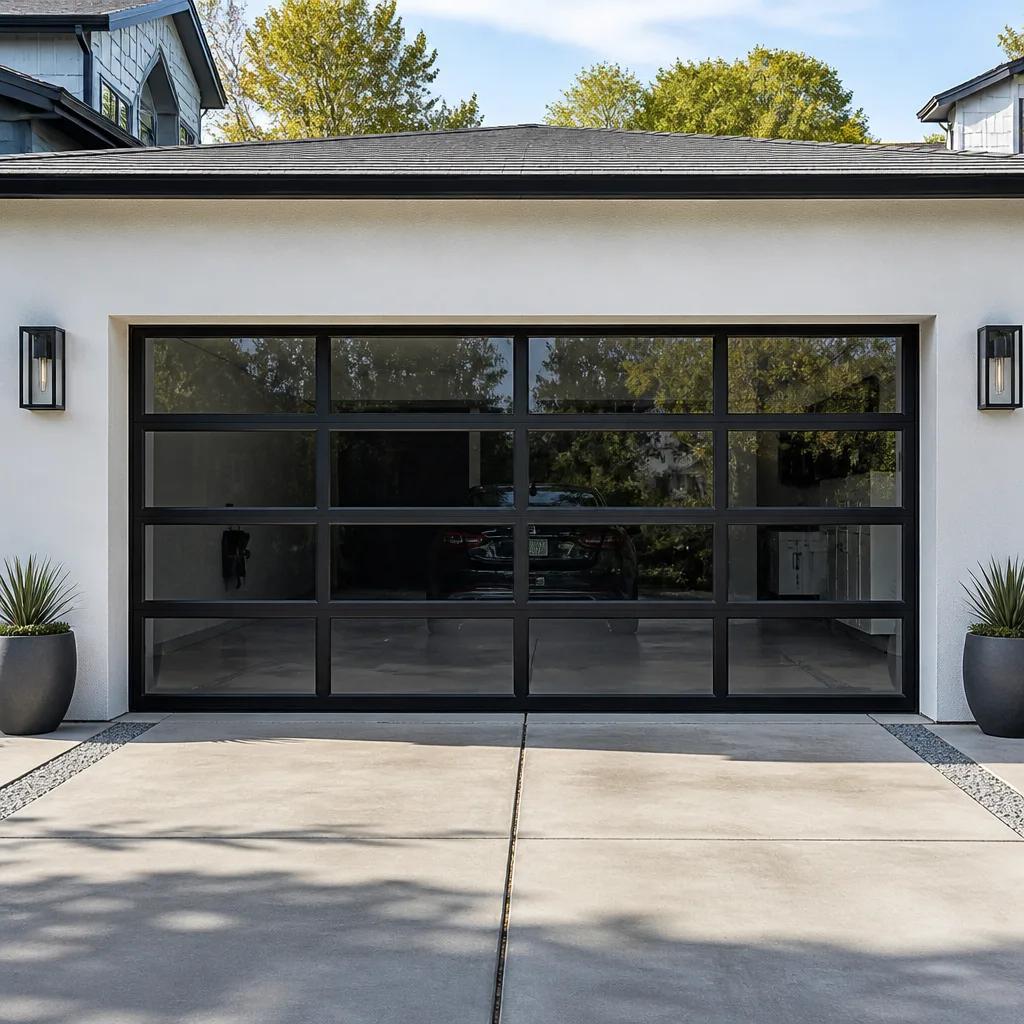 Full-view glass
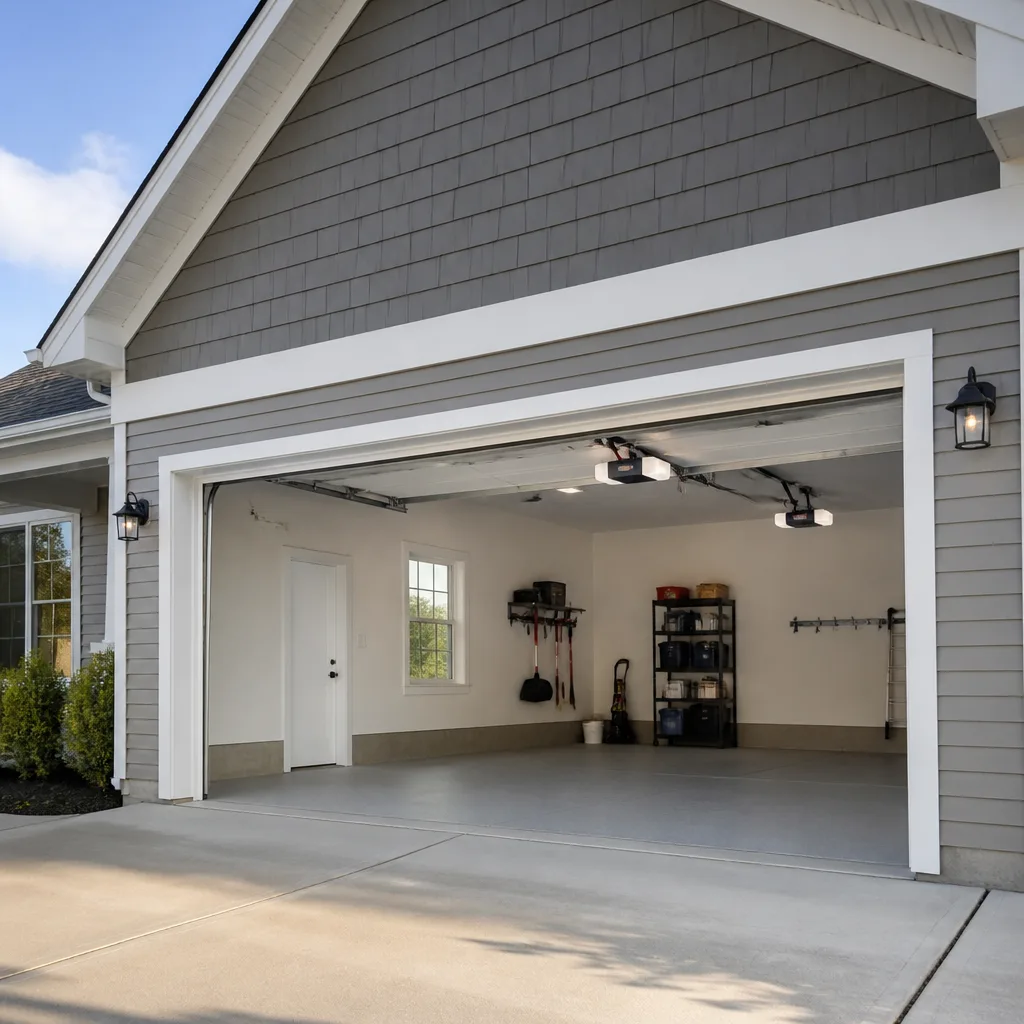 LiftMaster openers
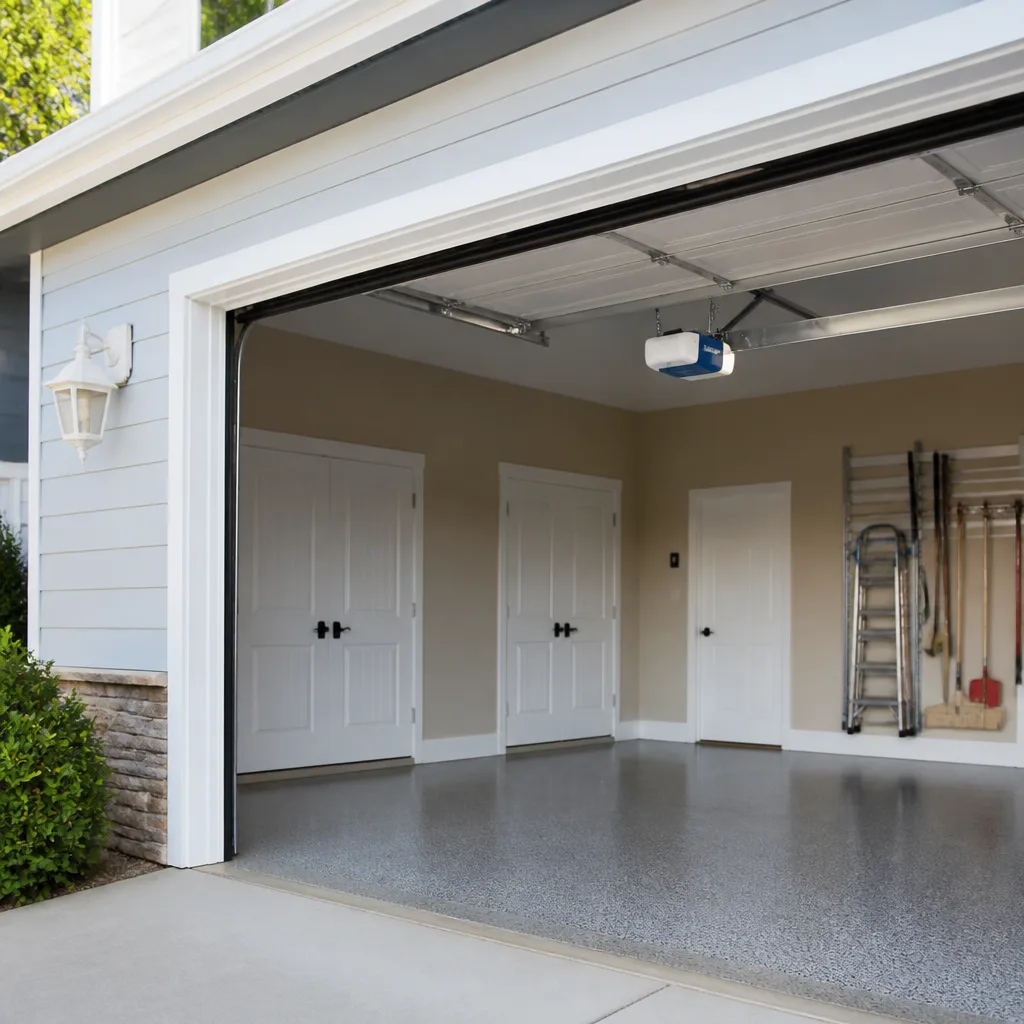 Chamberlain openers
Full 25-point door and opener safety check with every visit - springs, cables, rollers, tracks, and your LiftMaster or Chamberlain opener included
You get a price before we start. It does not change when the pro arrives.
Get your free estimateGarage Door Repair Maintenance Checklist for Plymouth Homeowners
The calls that hurt most are the ones where the door gave plenty of warning. A shimmy on the way down. A roller that chirps. A weatherstrip that’s started to peel at one corner. Plymouth homeowners walk past those signs every morning for weeks, then one day the door won’t budge and they’re calling from the driveway. This checklist is built to catch those quiet failures early. You’ll get component-by-component inspection steps for springs, cables, rollers, and weatherstripping, a lubrication schedule that actually fits New England seasons, safe tests for balance and auto-reverse, and a clear line between what you can handle and what needs a trained technician.
Quick Answer
A garage door maintenance checklist for Plymouth homes should cover four things: a monthly visual check of springs, cables, rollers, and weatherstripping; seasonal lubrication timed to freeze-thaw and summer humidity; a balance and auto-reverse test done safely; and a clear cutoff for calling a technician when you spot broken springs, frayed cables, or a door that slams or reverses unevenly. Most of the work is inspection you can do standing on the floor with a flashlight. The dangerous components – springs and cables under tension – are never a homeowner job.
Styles & brands we work with
- Raised-panel steel
- Carriage house
- Modern flush
- Full-view glass
- LiftMaster openers
- Chamberlain openers
Table of Contents
- Why Plymouth Hardware and Climate Change What You Check
- Springs and Cables: The Inspection You Do With Your Eyes
- Rollers, Hinges, and Tracks: The Moving Parts You Can Touch
- Weatherstripping and Bottom Seals in Plymouth Weather
- The Lubrication Schedule That Fits New England Seasons
- Testing Balance, Travel Limits, and Auto-Reverse Safely
- Red Flags: Stop Using the Door Now vs. Schedule Service
- What You Can Maintain vs. What Requires a Licensed Technician in Massachusetts
Why Plymouth Hardware and Climate Change What You Check
A generic checklist tells you to look at your door and listen for noise. That advice is useless because every door in Plymouth is a different mix of parts. A Clopay steel door with a LiftMaster belt-drive opener has a different set of wear points than a Wayne Dalton door with a Genie chain unit, and the components that fail first aren’t the same on either.
That’s why we organize this checklist by component and by brand, not by “do this once a season.” When we service Garage Door Repair Plymouth Pros customers around town, the pattern is consistent: the door is fine, the hardware on it has a specific part that wears faster than the rest. On older chain-drive openers from Chamberlain and Craftsman, the rail and trolley show slop before the motor does. On Raynor doors, the bottom brackets and hinges take the most abuse from moisture at the slab. Belt-drive LiftMaster units usually mask a worn door because the belt runs quiet even when the door is binding.
Plymouth’s climate adds a second variable. Winters bring repeated freeze-thaw cycles, and every one of those cycles works on the bottom seal, the weatherstripping, and any exposed metal. Summer humidity swells wood door frames and softens rubber seals. A door that’s tight in January can drag on the frame by August. This guide accounts for both.
You don’t need to know your model number to use this checklist. But knowing your brand helps you know what to watch. Start there, then work through the components in order.
Springs and Cables: The Inspection You Do With Your Eyes
Quick answer: springs and cables are look-only components. You can inspect them visually to spot a failure, but you never touch, adjust, or replace them yourself. Garage door springs are under extreme tension, and cables carry the full weight of the door. Both can cause serious injury if handled without the right tools and training. This is garage door spring repair territory, and it’s a job for a trained technician.
Here’s what you can check safely, standing on the floor with a flashlight:
- Extension springs (mounted above the tracks on each side): look for a gap in the coil. A stretched or broken extension spring is usually obvious. Check that the safety cable runs through the center of each spring.
- Torsion springs (mounted on the header above the door): look for a clean break in the coil, usually a visible gap about a third of the way along. Never try to wind or unwind one.
- Cables (running along each side): look for frayed strands, kinks, or a cable that’s come off its drum. A frayed cable can snap under load, so a visible fray means stop using the door.
- Drum and cable attachment points: check that the cable sits cleanly in the drum groove, not crossed over itself.
Two springs on a door are usually a matched pair and they tend to fail close together. If one is broken, the other is often weakened. When we replace springs, we replace the pair. That’s why a two-spring job costs roughly twice a single-spring job. Treating one spring as a standalone repair usually means coming back for the second within months.
If you see a break, a fray, or an obviously slack cable, stop using the door and call garage door spring repair. Springs are the most common serious failure on Plymouth doors, and they’re the one component you should never test yourself.
Rollers, Hinges, and Tracks: The Moving Parts You Can Touch
Quick answer: rollers, hinges, and tracks are the components you can inspect and lubricate yourself. They’re the wear parts that cause most of the noise and drag on a door, and keeping them in shape prevents bigger failures. Unlike springs and cables, there’s no stored tension here – just moving metal and plastic.
Rollers wear out from the inside. A roller with a worn bearing wobbles in its bracket and makes the door rattle on the way up. You can spot the problem by watching each roller while the door is fully open (rollers sit under less load when the door is up):
- Check every roller for wobble. With the door open, gently try to move each roller side to side in its bracket. Some play is normal; a roller that clunks back and forth has a worn bearing or a cracked nylon tire.
- Look for flat spots and cracks on the roller surface. A flat spot means the roller has stopped rolling and is sliding along the track, which wears both the roller and the track.
- Inspect the hinges on the panels. Each hinge should move freely and the pin should sit flush. A rattling hinge usually needs lubrication, not replacement.
- Look down the tracks. Stand at the door and sight along each track. A bend, a dent, or a section that’s pulled away from the wall will show as a kink in the line.
- Check the brackets and bolts. Loose track brackets cause the door to bind and put extra load on the opener. A bolt that’s backed out is worth tightening; a bracket that’s bent usually needs a technician.
For brands like Clopay and Amarr, the hinges and rollers are usually a size and type that’s easy to confirm by eye once you know what you’re looking at. If you’re unsure whether a part is worn or just dirty, that’s the moment to have us look. We work on the brand you already have, so we know what the correct roller and hinge look like on your door.
While you’re checking the moving parts, this is a good time to test the opener. If the motor sounds labored or the door hesitates, garage door opener repair is likely the next step.
Weatherstripping and Bottom Seals in Plymouth Weather
Quick answer: check your weatherstripping twice a year, before winter and after it. The bottom seal and perimeter strips are the parts most directly affected by Plymouth’s freeze-thaw cycles, and a worn seal lets in water, cold air, and small pests. This is a replacement most homeowners can handle.
The bottom seal runs along the bottom edge of the door and contacts the garage floor. It takes the most abuse of any component on the door. Each time the door closes, the seal compresses. Each freeze-thaw cycle hardens and stiffens the rubber. Over a few winters it cracks, splits, or flattens to the point where it no longer seals.
Here’s what to check:
- Look at the seal from inside with the door closed. Any daylight coming through under the door means the seal has failed or the threshold has shifted.
- Run your hand along the bottom edge. A seal that’s hard, cracked, or flattened in places needs replacement.
- Check the perimeter strips (the sides and top). These are often nailed or stapled to the frame. Pulled nails, gaps, and dry rot at the corners are common after a hard winter.
- Look for water pooling on the floor near the door after rain or snowmelt. A seal that looks fine can still let water in at the corners.
Replacing a bottom seal is usually a straightforward job: you cut the new seal to length, slide or nail it into the retainer, and adjust the door travel so it compresses slightly without crushing. Perimeter strips are similar. If the retainer itself is bent or the door frame has shifted, that’s when we get involved – a door that needs to be re-hung or a frame that’s out of square is beyond a seal swap.
Getting the seal right matters beyond comfort. A well-sealed door keeps the insulated space between the door and the garage insulated, and it keeps the track and springs from sitting in a wet environment that speeds up wear on all of them.
The Lubrication Schedule That Fits New England Seasons
Quick answer: lubricate the springs, rollers, and hinges twice a year, and stick to a garage-door-specific lubricant rather than general-purpose WD-40 or grease. In Plymouth, the two times to lubricate are late fall (before the first hard freeze) and late spring (after the ground thaws). Ordinary oil and grease attract grit and can gum up in cold weather.
There’s a real difference between winter and summer lubrication. In winter, cold stiffens the grease on the moving parts and the door starts to drag. A door that binds in January puts extra load on the opener and the springs, which shortens their life. Lubricate before the cold arrives and the door moves more freely when it matters. In summer, heat and humidity soften rubber seals and can make track contact noisier. The same basic lubrication helps here too, but the emphasis is on keeping rollers spinning freely and hinges moving easily.
Here’s the order we recommend:
- Use a garage-door-specific lubricant. A silicone or lithium-based spray is the usual choice. Don’t use cooking oil, motor oil, or thick grease on the tracks – it traps dirt.
- Lubricate the hinges at each pivot point (the point where the hinge plates meet). A drop or two per hinge is enough.
- Lubricate the roller bearings, not the tracks. The rollers are what need oil. Grease on the track surface collects grit and causes the rollers to slide.
- Wipe the tracks clean with a dry cloth. A clean dry track lets the rollers run smoothly. If the track is rusty, light oil on the track is acceptable, but keep it thin.
- Lubricate the springs (a light spray on the coils, not the winding cones). Some technicians skip this; we don’t. A lightly oiled torsion spring extends its life and reduces noise.
- Test the door after lubricating. Run it up and down a few times and listen for any new noise before you call it done.
If you’re not sure what to use on your specific door, the brand matters less than the product. We service the common residential brands – Raynor, LiftMaster, Chamberlain, Genie – and the lubrication routine is essentially the same across all of them.
Testing Balance, Travel Limits, and Auto-Reverse Safely
Quick answer: you can safely test door balance by hand with the door disconnected, and you can test the auto-reverse with a small block of wood. Never bypass the safety sensors or the reverse feature to “fix” a door that’s acting up. These tests tell you whether the opener is doing more work than it should.
Balance test (do this only if the door is on a manual or a working opener and you can disconnect it safely):
- Pull the emergency release handle (the red rope hanging from the opener rail). The door should be disconnected from the opener.
- Raise the door by hand about halfway, then let it go.
- A balanced door will stay roughly where you let it go, or drift slowly. A door that drops on its own is out of balance and the springs or cables need attention.
- Close the door by hand and re-engage the opener by pulling the release cord until it clicks back into the trolley.
If the door is badly out of balance and won’t stay up, don’t run it under the opener. Stop and call for service.
Auto-reverse test (this is the safety function that stops the door if it meets resistance on the way down):
- Place a small piece of wood (about two inches thick) or a 2×4 flat on the floor under the closed door.
- Close the door with the opener. It should reverse when it touches the block.
- If it doesn’t reverse, or it reverses before it touches, the travel limits or reverse force need adjustment. On most current LiftMaster and Chamberlain openers, this is done with the limit screws on the side or back of the unit.
- Check the safety sensors at the bottom of the tracks. The indicator lights should glow steady, not blinking. A blinking sensor means the beam is blocked or misaligned.
- Do this test every few months and any time the door behaves differently.
Adjusting travel limits is within a homeowner’s reach on most modern openers because the manual gives you the procedure. But if the door reverses for a reason you can’t find, or the opener needs repeated adjustment, that’s a mechanical problem the opener is masking. Our technicians see this on Genie and Craftsman units where the gears or the logic board are failing, and the fix is a repair, not a setting change.
Any work on the opener’s internal wiring or the door’s electrical connections should be done by a technician. Openers run on household current, and tampering with the wiring is both a shock hazard and a quick way to void the manufacturer’s warranty.
Red Flags: Stop Using the Door Now vs. Schedule Service
Quick answer: stop using the door immediately if you see a broken spring, a frayed cable, a door that slams or drops, or a door that comes off its track. Everything else – noise, slow movement, a sensor light, a seal gap – can usually wait for a service call within 30 days. The distinction is whether a failure could let a door fall or a spring release without warning.
Stop using the door now:
- A visible gap in a spring coil, or a spring that has clearly snapped.
- Frayed or broken cables, or a cable off its drum.
- The door slams shut or won’t stay in the fully open position when you release it.
- The door has come off one of its tracks.
- The door is visibly crooked, leaning to one side, or sagging at one corner.
Schedule a service call within the next 30 days:
- Grinding, rattling, or squealing noises during operation.
- The door opens slowly or hesitates, and the opener sounds strained.
- A blinking sensor light at the bottom of the door.
- Daylight or water coming under the bottom seal.
- The door reverses for no obvious reason.
- Loose hinges, wobbling rollers, or a track section that’s pulled away.
When in doubt, treat it as a stop-now issue. It’s always cheaper to have us look at it than to have a door fail in a way that damages the door, the frame, or the opener. If you’re on the fence, our team can help you sort it out by phone.
What You Can Maintain vs. What Requires a Licensed Technician in Massachusetts
Quick answer: homeowners can confidently check, lubricate, and replace weatherstripping, rollers, and bottom seals. Springs, cables, and any internal electrical work on the opener require a licensed professional. Massachusetts regulates both garage door installer work and electrical work, and the line between the two is worth knowing before you start.
Here’s the practical split:
- You can do this: visual inspection of springs, cables, rollers, hinges, tracks, and seals; lubrication of moving parts; replacement of weatherstripping and bottom seals; cleaning tracks; resetting safety sensors; pulling the emergency release for a balance test.
- A technician should do this: replacing or adjusting springs; replacing cables; re-hanging a door that’s come off its track; repairing bent tracks and brackets; any opener wiring or internal component repair; anything that needs the door raised and held under load.
The reason for the split isn’t just difficulty. It’s that the dangerous components are the ones under stored energy. A torsion spring holds the full weight of the door in its coil, and one wrong move can send it spinning. Massachusetts also has permitting and inspection rules for garage door work in most municipalities, and electrical work falls under the state’s electrician licensing rules. If you’re unsure whether a permit is needed for a specific job in Plymouth, your city’s building department is the place to ask.
Our technicians have up to 14 years of experience, and they work on the components that match your specific door and opener brand – not a generic workaround. That matters on spring work, where the wrong gauge or length creates a dangerous spring, and on opener work, where the logic board and the door have to match.
Common Mistakes to Avoid
- Ignoring a slow door. A door that’s started to open slower than it used to is telling you the springs are weakening or the rollers are dragging. Waiting until it fails usually means a more expensive repair.
- Using the wrong lubricant. WD-40 and motor oil attract grit to the tracks and gum up in cold weather. Use a garage-door-specific silicone or lithium product instead.
- Greasing the tracks. The rollers need lubricant, the tracks need to be clean and dry. Grease on the track causes the rollers to slide and wear faster.
- Replacing one spring. When one spring breaks, the other has often been carrying more load for a while. Replacing a pair together saves a second service call and keeps the door balanced.
- Bypassing the safety sensors. A blinking sensor is a symptom. Disconnecting it or covering it to get the door to close is a real safety risk, especially in a Plymouth household with kids or pets.
- Forgetting the seal before winter. A weatherstrip that looks fine in October can fail after two freeze-thaw cycles. Check it before the first hard freeze, not after.
- Skipping the balance test. If the door can’t hold its position with the opener disconnected, the opener is doing the springs’ work. That wears out both parts faster.
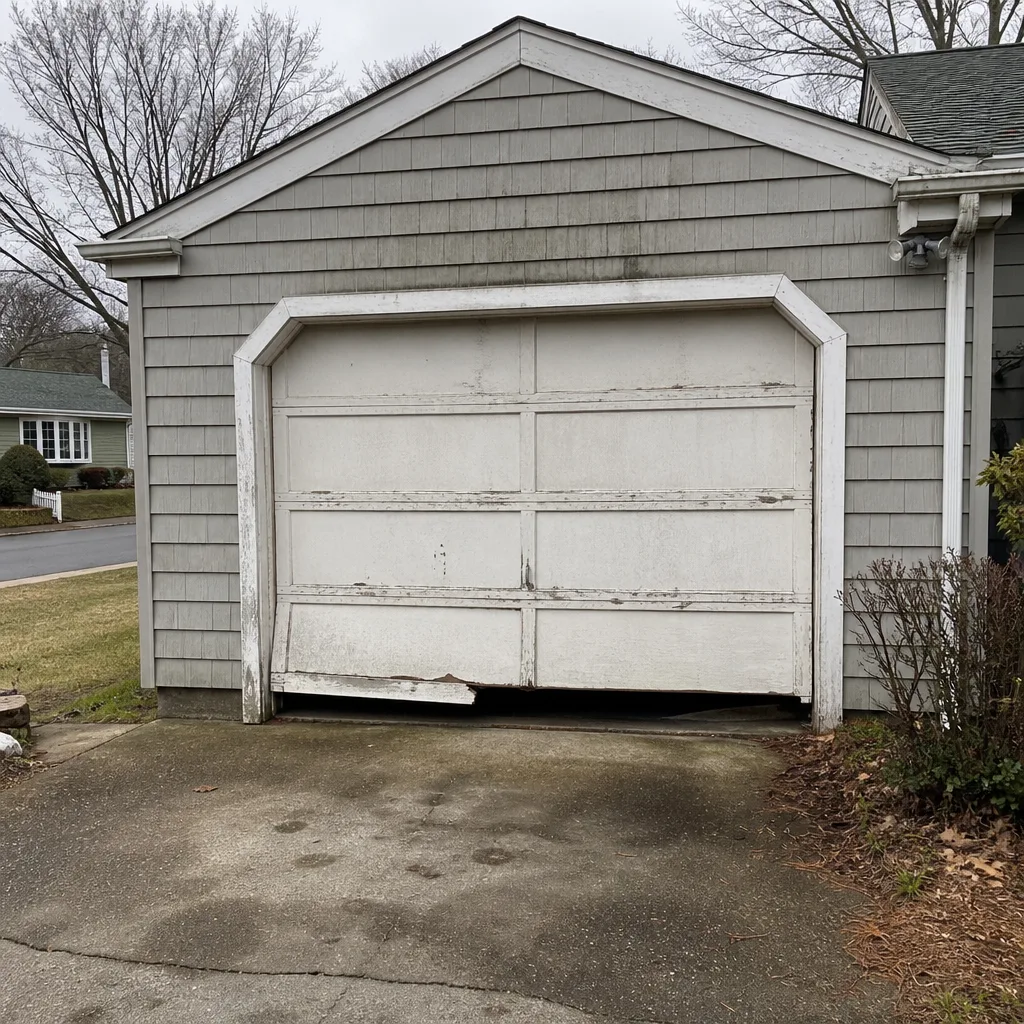
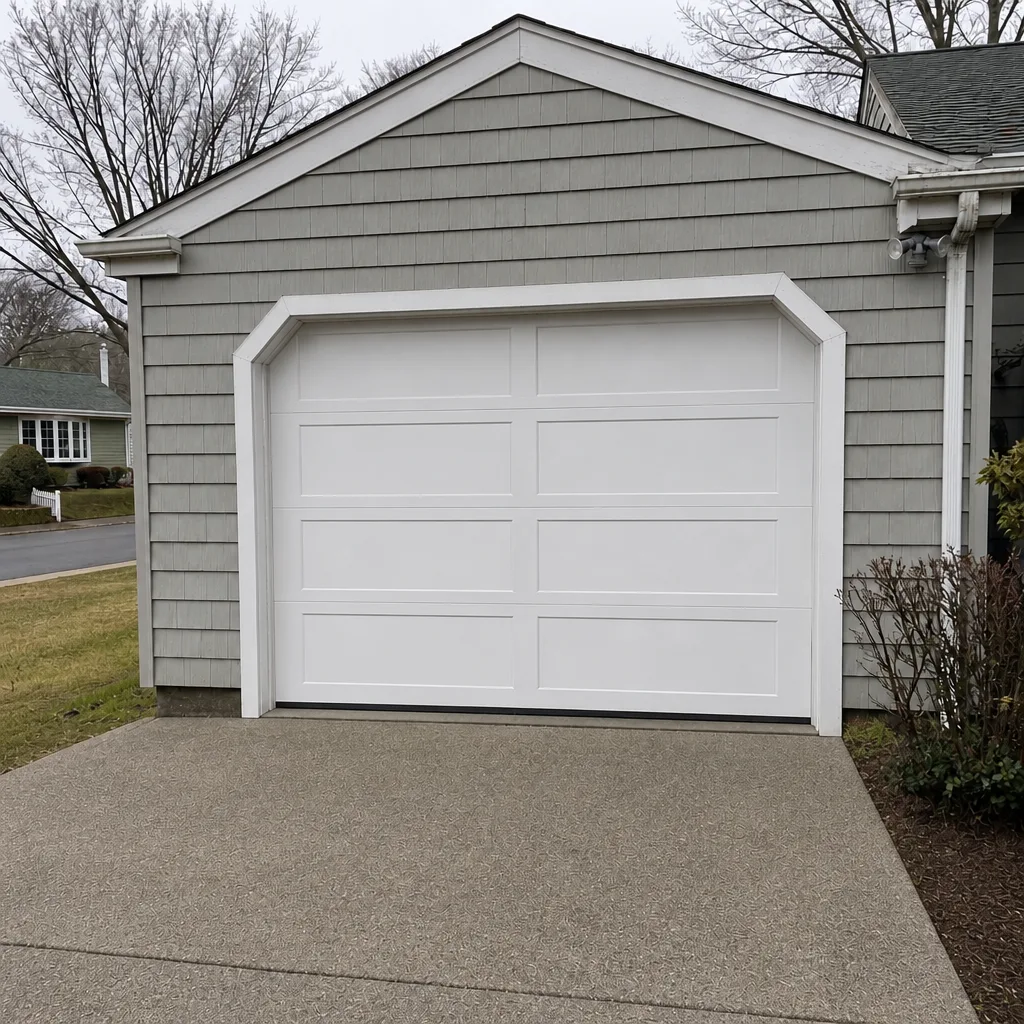
See the difference
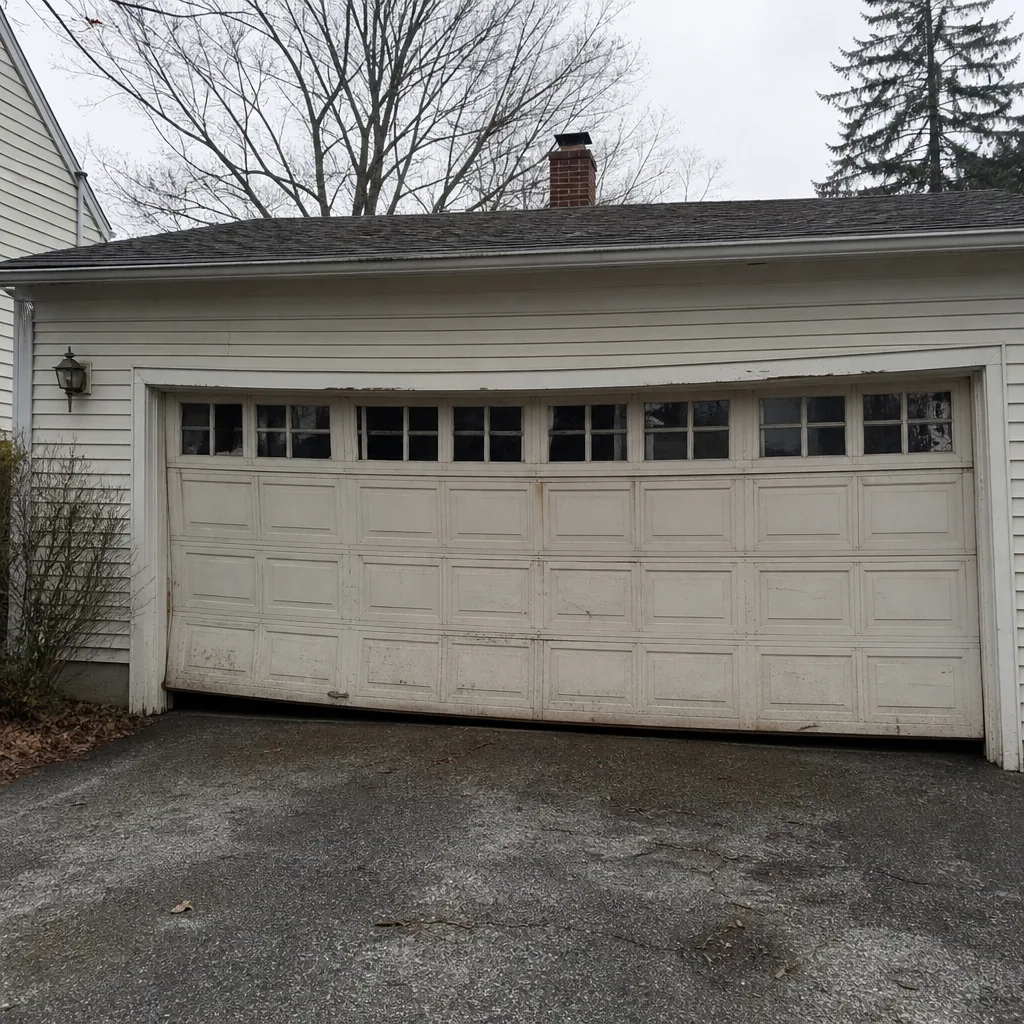 Before
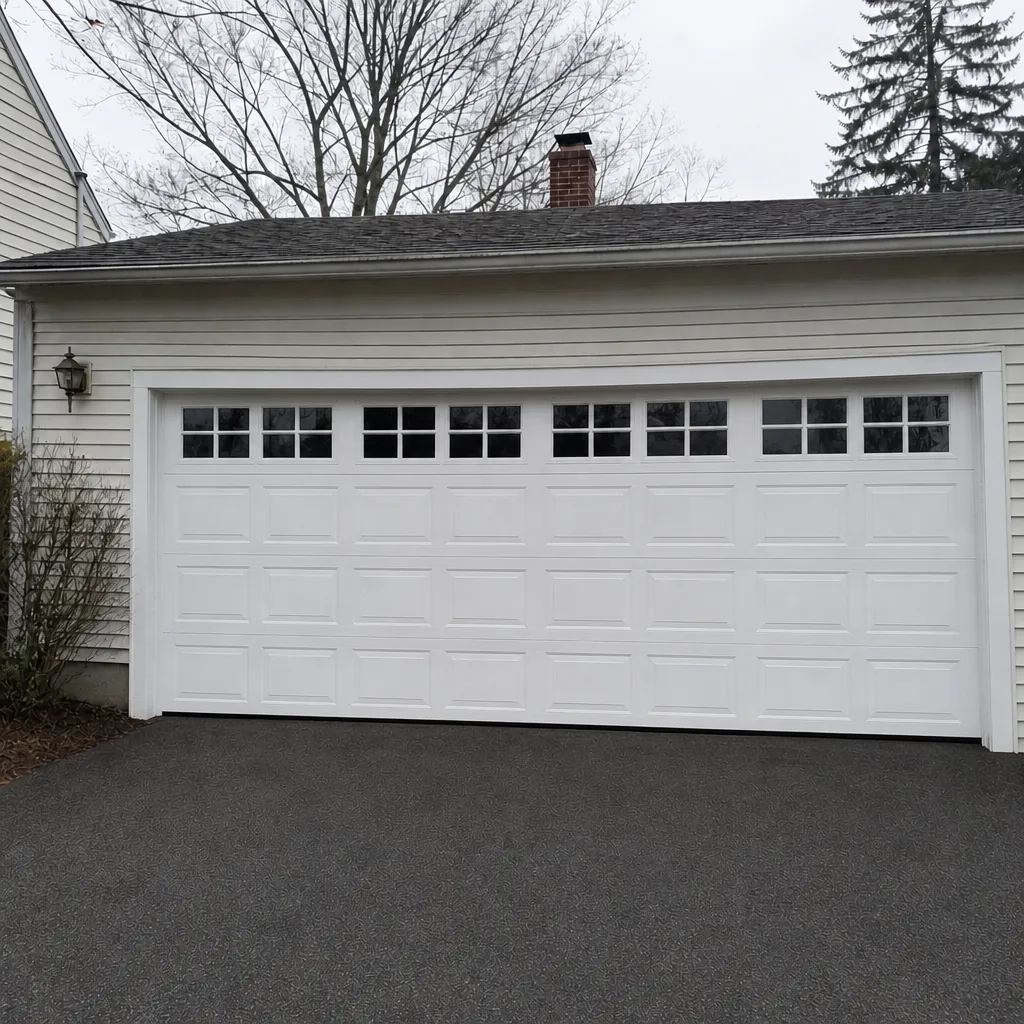 After
 Before
 After
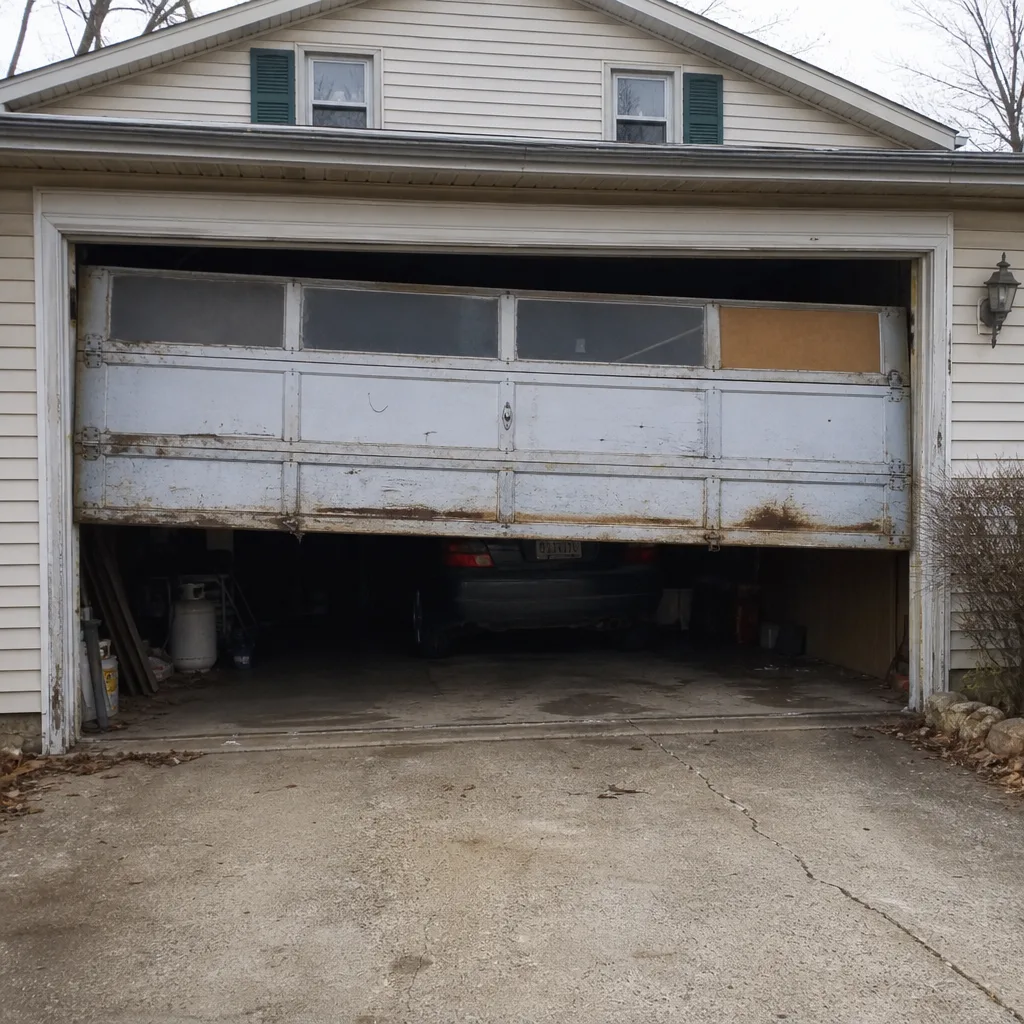 Before
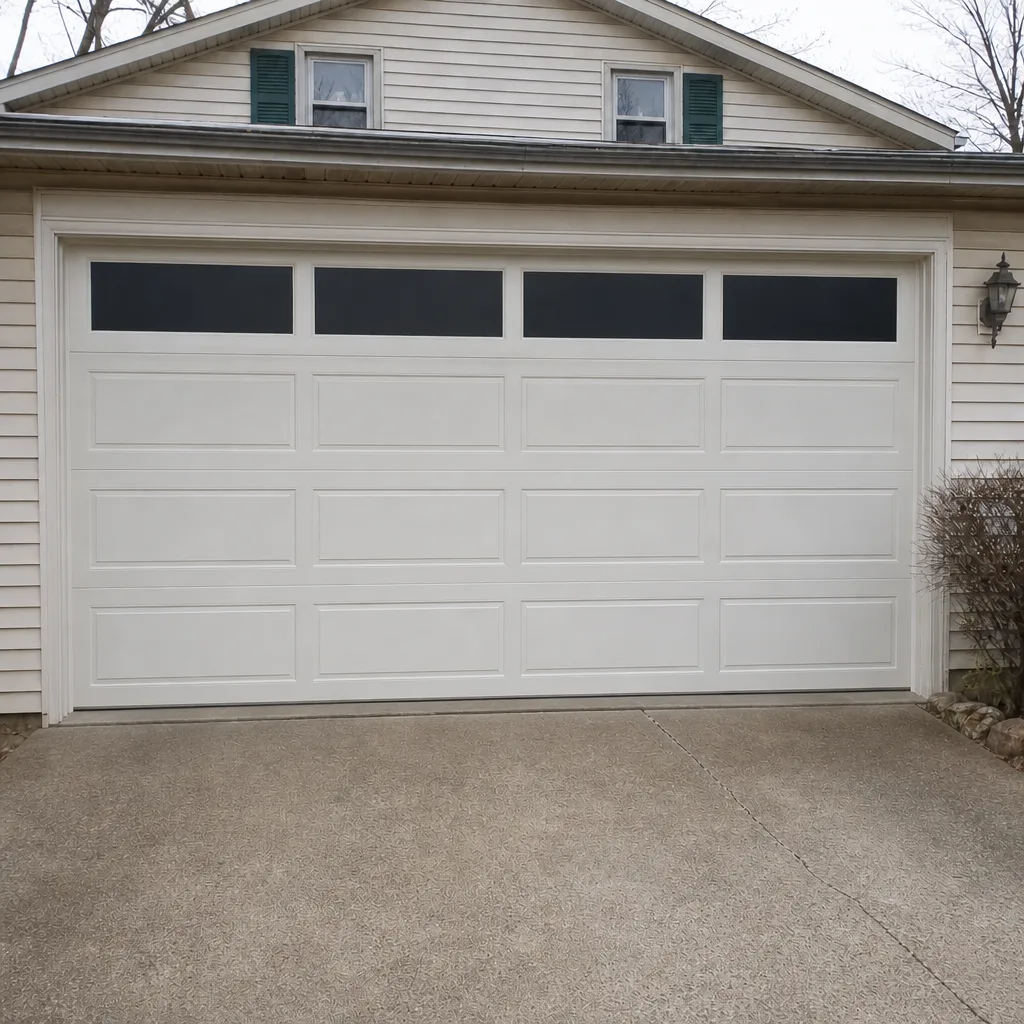 After
When to Call a Professional
Call a professional for any spring, cable, or track repair, for a door that has come off its track, and for any opener problem that isn’t a setting change. Also call if the door slams, reverses for no reason, or feels heavier than it used to. Those are signs of a mechanical failure, not a maintenance issue. The line is simple: if a repair needs the door raised under load or the opener opened up, it’s a technician job. If it’s inspection, lubrication, or a seal swap, you can handle it. When you’re ready to have a professional look at something, Garage Door Repair Plymouth Pros offers free estimates in Plymouth – call (833) 754-9851.
Frequently Asked Questions
Every spring and every fall, at a minimum. Lubricate moving parts, check seals, and run the balance and auto-reverse tests twice a year. If your door gets heavy daily use, add a monthly visual check of the springs and cables. Plymouth’s freeze-thaw cycles make fall and spring the most valuable times to look, because that’s when seals and track alignment are most likely to shift.
Yes, you can look at them from the floor, and that’s the most important part. Check for a visible gap in the coil and confirm the safety cables are in place on extension springs. Never touch, wind, or unwind a spring yourself. If you see a break, stop using the door and call for spring repair. Call (833) 754-9851 for an estimate – estimates are free.
A garage-door-specific silicone or lithium spray, not WD-40 or motor oil. The cold stiffens ordinary grease and the door starts to drag. Apply it to the hinges, roller bearings, and spring coils in late fall before the first hard freeze, and again in late spring. Wipe the tracks clean and dry rather than greasing them.
It can be. A door that reverses without an obstruction is usually seeing a false trigger from a misaligned or dirty safety sensor, or the opener’s travel limits need adjustment. Clean the sensor lenses first; if the indicator lights still blink, the beam may be misaligned. If the reverse happens after you’ve checked the sensors, have us look at it. Repeated adjustments usually point to a mechanical issue the opener is reacting to.
Some, but not much. The basic components – springs, cables, rollers, hinges, tracks, seals – are similar across Clopay, Amarr, Wayne Dalton, and Raynor doors, and openers like LiftMaster and Chamberlain follow the same general maintenance pattern. What changes is where each brand tends to wear first, which is why a technician who knows your brand can catch a problem sooner.
Often yes, for typical repairs like a single broken spring, a frayed cable, or an opener that has stopped working. We stock the common residential parts and the technicians have up to 14 years of experience with the major brands. Call (833) 754-9851 and we’ll confirm what’s possible for your door. Estimates are free and the price is agreed before any work starts.
The Bottom Line
A garage door maintenance checklist earns its keep when it’s specific to the hardware on your door and the weather your door actually lives in. Check springs and cables by sight only, never by hand. Lubricate hinges, rollers, and springs twice a year with the right product, and time the fall job before the first freeze. Replace weatherstripping and bottom seals when they look worn, not after they let water in. Run the balance and auto-reverse tests a few times a year. Stop using the door for broken springs, frayed cables, a slamming door, or a door off its track. Schedule service within 30 days for noise, slow movement, or a blinking sensor. Keep that routine and the emergency calls get a lot rarer.
When you’d rather have a technician handle it, Garage Door Repair Plymouth Pros can inspect and repair your system, including brand-specific opener repairs and spring work done safely. Call (833) 754-9851 for a free estimate. We work on the brand you already have.
Written by the team at Garage Door Repair Plymouth Pros.